| 兄弟会需要你的帮助! 本条目包含未翻译内容。您可以帮助刺客信条维基来 翻译这个条目。 |
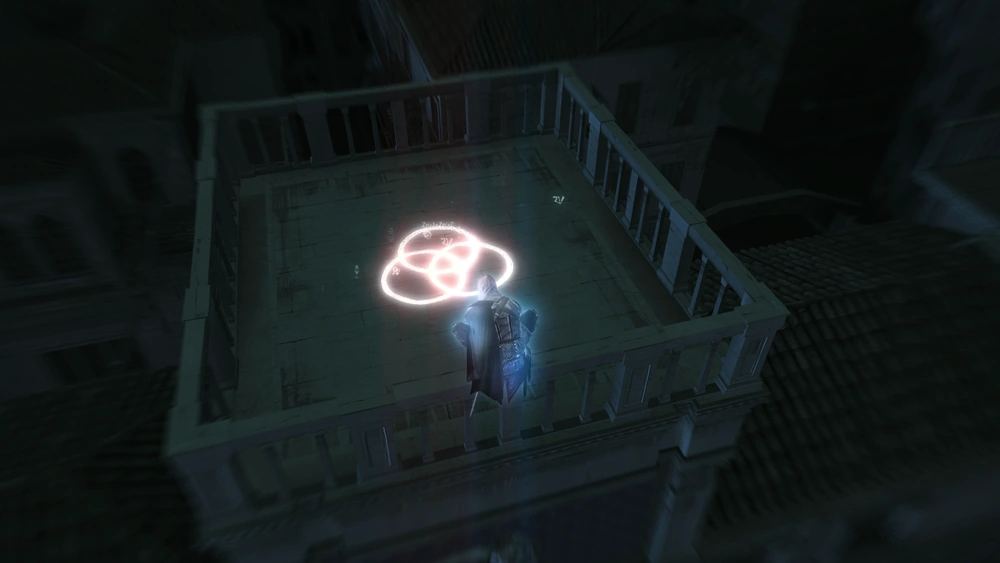

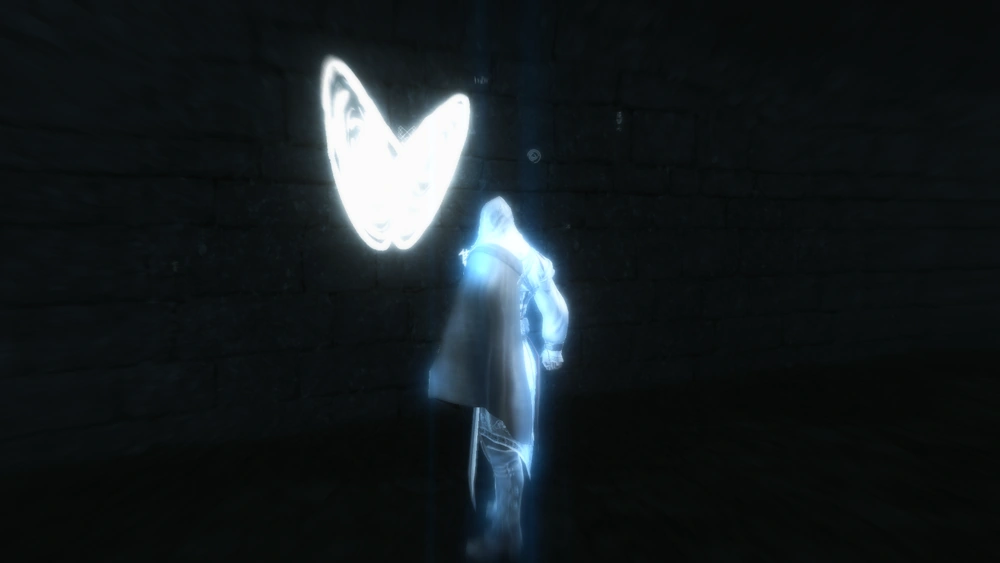
Ezio和三叶草字形
字形 (又称为字符、符文)是戴斯蒙德·迈尔斯在Animus中时,重温他祖先埃齐奥·奥迪托雷 的记忆对象。每个字形所显示的历史和冲突,是刺客组织和圣殿骑士之间的重要细节。
溯源
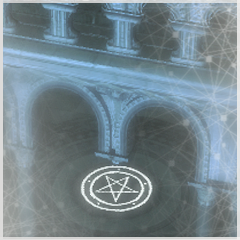
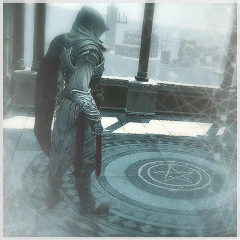
Ezio激活了一个字形
字符是16号实验体所创造的,他是戴斯蒙德·迈尔斯的前一任Animus使用者。在长时间驻留于Animus时,16号发现了“真相”,但他处于Abstergo的拘禁之下,无法向外界传达这些信息。于是他骇入Animus,把这部分档案隐藏为大量的加密碎片,并以字符的形式呈现给戴斯蒙德。为了给下一位Animus使用者留下提示,16号用自己的血写下了大量神秘信息,这些神秘信息散布在Abstergo实验室的各处。[1]
Abstergo实验室
在戴斯蒙德·迈尔斯进入Animus之前,Abstergo已经把16号留下的信息清扫干净。[2] 肉眼不可能看见这些信息,但是出血效应 最终使戴斯蒙德拥有了“鹰眼视觉 ”,他察觉了16号留下的神秘信息,却无法理解其中的含义。[3]
Animus 2.0
- 主要词条: 真相
在逃出Abstergo工业的途中,露西·斯蒂尔曼 偷走了16号实验体篡改过的Animus记忆核心。当这个核心被转移到Animus2.0之中,16号留下的字形也被转移了进去。.[1]
每个字形里的数据都是被加密的
在体验埃齐奥·奥迪托雷 的记忆时,戴斯蒙德和他的刺客同伴发现了字形的存在,并猜测它们为什么会在Animus中出现。他们最终得出结论:在露西·斯蒂尔曼从Abestergo的Animus 1.28中偷取记忆核心之后,它就带着这些字形——这是16号实验体留下的原初烙印。[1]
在埃齐奥的记忆中,戴斯蒙德发现了数目庞大的记号,这些记号是用来激活特定的文件碎片的。16号希望只有刺客能读取这些记号,所以激活字形的唯一途径是:开启“鹰眼视觉”来扫描它们,因为只有刺客血裔才拥有鹰眼。戴斯蒙德每解开一个字形谜题,就能获得一小段“真相”视频剪辑。一旦所有的字形被破解,这些片断就能连结成一个完整的视频。戴斯蒙德解开的谜题叙述了历史上刺客和圣殿骑士的重大行动,以及伊甸碎片曾经出现过的地方。.[1]
罗马
- 主要词条: Rifts
在分析了字形谜题的结果之后,肖恩·黑斯廷斯 发现这些谜题还附加着一个隐藏地点的经纬度。它指引着戴斯蒙德来到罗马城周围,并破解了16号实验体置入Animus的另一系列谜题。[4]
字形所在地点
在Animus中,每个字形都位于一个历史地标之上。在完成第一个记忆序列之后,每接近一个带有字形的地标,这个地标的数据库入口就会显示一个“眼睛”图标。当你接近字形时,会出现一种“闪烁的”音效作为提示,听起来跟接近羽毛、宝箱和密函页时出现的音效是完全相同的。如果想在地标中更快地找到字形,就开启“鹰眼视觉”吧!
圣马可区
- 玫瑰苑屋顶的南侧
- 纯真之所东边屋顶的北侧
- 圣十字教堂北部稍低一点的屋顶西侧
圣玛利亚诺维拉区
- 圣洛仑佐教堂北部钟塔的南侧
- 旧市场天井北边一个角落的东墙上
")
")
托斯卡纳
- Monte Oliveto Maggiore塔楼的东侧
- 圣吉米纳诺城外,古罗马剧场后方的一处拱形隧道中
圣吉米纳诺
- Torre del Diavolo顶部的北侧
- Facing south in the gap between the Torre dei Salvucci
- Facing east at street level in Santa Maria Assunta
")
罗马涅
- On the north face of the Avamposto Veneziano lighthouse
弗利
- Facing east above the west colonnade of San Mercuriale
")
San Polo District
- Facing west beneath the east end of Ponte di Rialto
- Facing east between the dome and bell tower of San Giacomo di Rialto
- Facing east on the roof top of Gilda del Ladri di Venezi
San Marco District
- Facing up on top of Torre dell'Orologio, above the clock
- Facing up in an open section near the top of Campanile di San Marco
Castello District
- Facing north on top of Scuola Grande di San Marco
- Facing east on top of San Pietro di Castello
")
字形谜题
- 字形谜题按数字次序破解,与它所在的地点无关。
- 当你无法解开一个谜题时,会出现一个提示选项,肖恩·黑斯廷斯 也会为你提供解谜的线索。
- 在一个环形拼图谜题中,最内层的环是1号环,最外层的环是5号环。
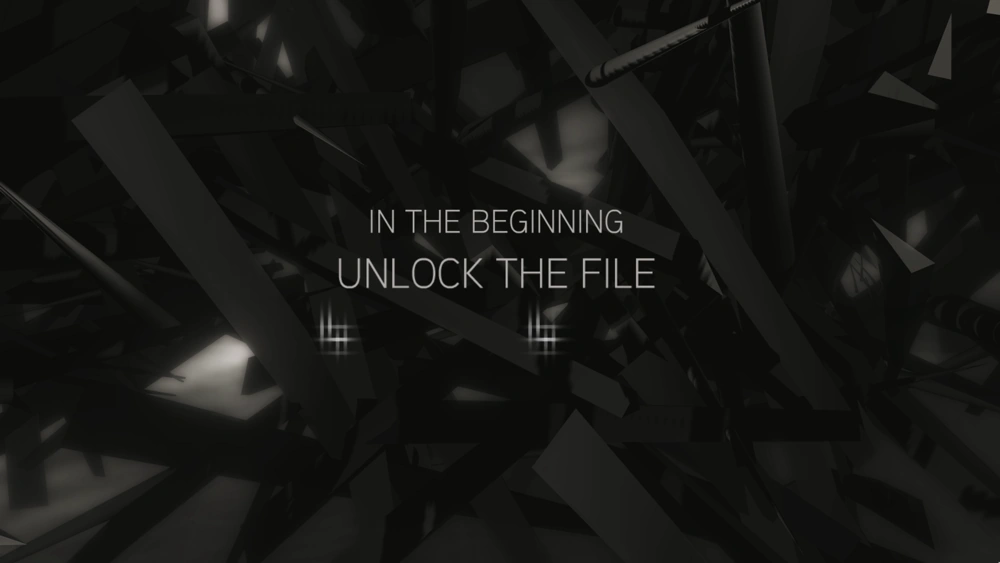
In The Beginning
Subject 16 stated that "我们从小被教导去相信的一切都是谎言" and explained he had proof. This proof had been split into 20 encrypted pieces and hidden in the Animus software as the Glyphs.
The puzzle to solve involved finding the "core similarity" in each painting. Desmond had to identify and select the pictures with apples: The Fall, Hercules in the Garden of Hesperides, Atalanta and Hippomenes, Judgement of Paris and Idun and the Apples.
")
Sixty-Four Squares
Desmond had to solve 3 picture rings, spinning the various rings in turn until they formed an image. The center circle of the puzzle was fixed to provide a point of reference. Working from this center outward made visualizing the endgame easier.
Each picture was of a famous historical leader who held an Apple of Eden during their career. These leaders were Queen Elizabeth I (Piece #2), Napoleon Bonaparte (Piece #1) and George Washington (Piece #3).
")
")
")
Descendants
Desmond was presented with a series of pictures, which were seen normally and then under a red light. When the picture was under the red light, Desmond could search the images for the hidden Apple of Eden. While searching the photos, Desmond uncovered some hidden Morse or Masonic Pigpen symbols that contained messages.
Subject 16 explained that each photo subject was murdered by the Templars and their Piece of Eden stolen.
- Franklin D. Roosevelt: Apple #3 was located just below Roosevelt's knee. On the blackboard was a Pigpen cipher. This text read "The Masons brought it across the sea. George Washington passed it on."
- Harry Houdini: Apple #1 was located below Houdini's head, on the water torture chamber. Above Houdini's feet was a Morse cipher that read "They hit him in the stomach."
- Mahatma Gandhi: Apple #2 was located atop Gandhi's staff. Another Morse cipher was hidden in this picture, reading "The bullet hit him in the chest."
")
")
")
Infinite Knowledge
Desmond needed to find the Apple of Eden in each photo.
- My Tho, Vietnam, 1968: The next photo was inside the bazooka barrel on the soldier's shoulder. There was no hidden cipher text in this picture.
- Outskirts of Brest, France, 1944: The next photo was around the kneeling soldier's helmet, on the far side of the street. On the road was hexadecimal cipher that read "Antikythera Mechanism, much older than 150 BCE."
- Beaufort, South Carolina, 1862: The Apple was located atop one of the bayonets, slightly right to the center of the photo. Above the Apple was a Caesar cipher that read "Ancient city, Rajastan, India, irradiated by PoE."
- First pictorial representation of a gun, 900: The final Apple was in the upper-right corner, in the hand of a demon. Near Buddha's face was a binary code reading "Sumerian, Me 23".
")
")
")
")
Instruments of Power
One needed to select the pictures that shared a common theme. There were two sets of pictures to solve.
- The first puzzle's key was a sword: Perseus, Greece; Attila the Hun, Eurasia; Sigmund, Norse; King Arthur, Britannia; and Joan of Arc, France. Each of them held Piece of Eden #25, The Sword.
- The second puzzle's key was a staff: John the Baptist, Jerusalem; Alexander the Great, Macedonia; Shabataka, Egypt; Peter, Jerusalem; and Moses, Egypt. Each of them held Piece Of Eden #34, The Staff
<gallery widths="180" spacing="small" position="center" captionalign="center"> cluster5swords.jpg|Swords of Eden
cluster5staves.jpg|Staves of EdenBrothers
This was a slightly more difficult variation of the picture rings. As Desmond spun a specific ring, another ring in the puzzle also moved. There were 4 rings to solve, each depicting the story of Cain and Abel.
- For the first picture, twisting Ring One 2 times to the left, Ring Two 3 times to the left, Ring Four once to the right, Ring Five 3 times to the right, and Ring Three around would complete the picture.
- For the second picture, twisting Ring One 3 times to the left, Ring Three 1 time to the left, Ring Four 4 times to the left, Ring Five once to the right, and Ring 2 around completed the picture.
- For the third picture, twisting Ring One 3 times to the left, Ring Three 1 time to the right, Ring Four 5 times to the left, Ring Five once to the left, and Ring Two around completed the picture.
- For the fourth picture, twisting Ring Three once to the right, Ring Five 2 times to the left, Ring Four 2 times to the left, Ring Two 6 times to the right, and Ring One around completed the picture.
The quote was from the Pearl of Great Price(Moses 5:29-31) and the Morse Code read "Templar texts adapted by Mr. Smith".
Subject 16 then proclaimed the Templar insignia (technically a Maltese Cross) was actually the Mark Of Cain.
")
"Keep On Seeking, And You Will Find"
The first part of this puzzle was a 'common picture' puzzle. Desmond had to identify the paintings with a person wearing a red robe: Joseph, Egypt c. 1700 BCE; Jason, Greece Prehistory; Jesus Christ, Jerusalem c. 30; David and Goliath, Valley of Elah c. 970 BCE; Christ Disrobed, Jerusalem c. 30. Each of them once held Piece Of Eden #66, The Shroud. Finishing this resulted in the SPQR logo flashing on the screen.
The second part of the puzzle involved scanning a picture of the crucified Jesus Christ for a Piece of Eden. Desmond would hear a beeping sonar that became more rapid when approaching the target. Located around Jesus's legs was the red Shroud. Hidden amongst this picture was the Templar insignia and the words "They took it."
")
Martyrs
Similar to the previous Glyph, Desmond needed to look for a Piece of Eden using the sonar beeps as a guide.
- Czar Nicholas II: Scanning the staff Nicholas held, hidden in this picture was a binary cipher that read "17th July 1918" (the date Nicholas and his entire family were murdered).
- Joan of Arc: Scanning the sword Joan wears on her belt, another hidden binary message in this picture read "30th May 1431," the date Joan was burned at the stake.
The next phase of this puzzle involved picking up the flame and placing it over the picture of Joan. Subject 16 explained the Templars killed Joan to recover The Sword. After Desmond placed the image of Rasputin over the image of Nicholas, Subject 16 explained that Nicholas used The Staff to maintain power, but Rasputin stole The Staff and Nicholas lost control of the populace, resulting in the Russian Revolution.
")
")
")
Hat Trick
The first part of this puzzle involved using sonar to locate a Piece of Eden in the photos.
- Harry Houdini: Houdini's abdomen
- Mahatma Gandhi: Gandhi's heart
The next puzzle involved solving a Caesar cipher to obtain the access code. The cipher key was easily spotted amongst the images (6=1). The access code was 312.
The unlocked letter revealed the Templars plan to kill John F. Kennedy for "planning to give the vote to everyone". Oswald was the successful assassin, but another agent referred to as "Z" was also present to ensure success. Once JFK was down, PE1 was used to stage a distraction on the infamous 'Grassy Knoll'. The driver (who was trained with PE2 in the Templar labs) took advantage of the confusion to steal PE3.
")
")
")
Apollo
The first puzzle involved using sonar to locate and identify the Apollo 11 landing module. The module was not actually over the Moon itself but out in space, around lower left of the picture. Over the Moon was a Mason pigpen cipher that read "Johnson was one of them. The bee's drone too. Follow the money".
The next puzzle was another picture ring. Spinning Ring Five 6 times to the left, Ring Two 4 times to the left, Ring Four 3 times to the right, Ring Three 5 times to the left, and Ring One completed the puzzle.
The final puzzle involved using sonar to locate the Piece of Eden. Surveying the image, several hidden alterations could be found. The title of the Moon photo read "Apollo 11 photograph released to public"; underneath it read "Original unreleased negative." When scanned, the US Flag contained the Abstergo logo, and the white flag contained the Templar insignia, resembling the Jerusalem cross. Piece of Eden #5 could be found next to the astronaut's foot on the left.
")
")
The Inventor
This puzzle began with a letter from Nikola Tesla before giving Desmond two 'find the Apple' pictures. Unlike previous puzzles, Desmond couldn't home in on the sonar.
- Wardenclyffe Tower: Directly above the centre-most door in the picture, the image hid 3 unencrypted quotes from Tesla.
- Tesla c.1900: The Apple was in Tesla's hands. Also hidden in this picture was a Caesar cipher reading "He used it to develop a bottomless source of energy. Telefunken Wireless Station".
Subject 16 revealed that Tesla found the Fourth Apple in Croatia, but the Templars found the Apple in Tesla's lab and used it to drive Tesla mad.
For the final image, moving the cursor over each of the light globes activated them.
")
")
")
Titans of Industry
The first puzzle was a Caesar wheel: the key was hidden in the schematics that was also shown on the page, 4=1. The password was thus 240.
For the next map, the cursor over each of the light globe deactivated them.
The next puzzle was a 'spot the Apple' picture, showing Mark Twain in Tesla's lab. The Apple was in Twain's hands; there was also a hidden Morse cipher reading "They used it to make Tesla go insane. The organization took his research. Alien Property Custodian."
Desmond was then shown a letter from Thomas Edison to a Mr. Morgan, both Templars, discussing Tesla's intention to use the Fourth Apple to provide free electricity and information networks, against the Templars ideas. Edison thus urged Morgan to cut Tesla's funding.
Now Desmond had a second Caesar wheel to solve: but some of the symbols used on the wheel were obscured. The symbol pattern was fairly simple: dashes represent multiple dots, which represent a tally. The key to the Caesar wheel was split amongst two images: the Model T car (2) and the cover of the newspaper. The code to enter was thus:
")
The next letter was from Henry Ford to Edison. Edison apparently gave (or at least authorized the use of) the Fourth Apple by Ford, allowing Ford to keep his workers on lower wages. Ford was eventually instructed to give the Apple to "H," who would "take over" and begin a war that would allow a new Templar order to arise from the chaos. The letter also revealed the Templars knew H was intending to "purge" Europe and that Ford, at least, supported this idea. The letter also implied that Firestone was also a Templar.
")
")
")
")
I Am Become Death, The Destroyer of Worlds
The first phase of the puzzle was another partially-obscured Caesar wheel. The two pictures on the left each had the key: one had the number 9 while the other had a triangle rafter highlighted. When the wheel was aligned, Desmond saw how the symbols go from triangles to squares and circles. The solution was thus:
")
An Abstergo memo instructed a Templar to give "O" the authorization to proceed with a real-world verification of his experiments.
The next screen presented a big red button. There were no hidden texts here, so pushing the button revealed a video clip of an atomic explosion.
The final screen presented a 'sonar location' puzzle. Listening to the sounds of the Geiger counter allowed Desmond to home in on the access code that completed the puzzle.
")
")
Bloodlines
Subject 16 was starting to deteriorate. He had visions of holding a rifle at Gettysburg, stabbing a man and getting blood on his waistcoat; of an opera soprano who cried as they copulated; and of speaking at the Forum but no one listening.
The only puzzle involved selecting the paintings with a common theme: that of the union of gods and mortals. The paintings are: Danaë Visited by Zeus, Jupiter and Io, Leda and the Swan, Cupid and Psyche, and the Rape of Europa.
Subject 16 then revealed the Assassins' abilities were the result of interbreeding between humans and Those Who Came Before.
")
Guardians
The first puzzle was a picture ring (of Ivan the Terrible holding his dead son). Twisting Ring Three 2 times to the right, Ring One 4 times to the right, Ring Four 5 times to the right, Ring One 5 times to the left, Ring Two 5 times to the left, and Ring Five 5 times to the right to complete the puzzle.
The next part was a map of targets murdered by the Assassins. The cursor moved over each one to complete the puzzle.
")
The Cavalry
The puzzle began with a letter sent to Nikola Tesla from the Assassins, warning of the Templar's plan for Tunguska. A map was then presented with various place names, but only one name marked the correct spot: Tunguska. If the cursor hit any place names other than Tunguska, the names would shuffle again. Moving the cursor over the Tunguska text revealed a portrait of Nikola Tesla and a picture of The Staff; dragging the Staff to Tesla completed the puzzle.
An anonymous memo appeared from 1908: the Templars had taken The Staff to Tunguska to conduct experiments on it, but the Assassins recruited Tesla to destroy the artifact. The Assassins knew Tesla's career had been destroyed by the Templars, and so Tesla agreed. The Staff was destroyed before the Templars could take advantage of it.
")
The Bunker
The Caesar wheel in this puzzle didn't simply obscure two portions: the order of the symbols in the code box was random and there were some fake symbols to choose from as well. Looking at the symbols in the wheel and counting the number of sharp vertices, a pattern could be discerned. On the image with the tank, the < symbol was shown, and between the pictures was the number 4; placing the symbol at the number 4 on the wheel aligned it correctly. The number of angles in the picture was lesser than the number given in the wheel by three angles from the number 3 onwards. For 0, 1, and 2, the number of angles were 7,8, and 9 respectively. The solution to the wheel was thus:
")
An Abstergo memo showed that the war had mostly gone to plan by ushering in a new order, but "H" was supposed to meet "C" with the Piece of Eden and didn't make the expected rendezvous on 30 April 1945.
Subject 16 explained that although the Templars ushered in their new order, the Assassins were able to kill Adolf Hitler.
The final part of the puzzle involved locating the Assassin emblem in a picture of the Führerbunker. Looking in the upper-right corner over the bunker entrance revealed the emblem. On the wall of the small cubic building in front of the bunker was a hidden Caesar cipher reading "The double was killed in the bunker".
")
")
Synapses
The first phase of the puzzle was a Caesar wheel. The key to the cipher was amongst the black & white brain images, but two necessary symbols were obscured from the wheel. As Shaun explained, the 'trees' were 'ones' and the 'mountains' were 'tens': the values of the wheel were still in order. The correct key was thus:
")
Desmond was then presented with an article from the inaugural issue of Biological Frontier from January 2012. This article, by Doctors Yijie Wu and PJ Traunero, described a unique neurotransmitter that appeared exclusively in humans and yet did not react to any sort of stimulation.
The second part of the puzzle involved moving the cursor over the various synapses within the picture. Amongst the nerve lines were two circular parts.
Subject 16 revealed the neurotransmitter described by Wu & Traunero reacted in the presence of a Piece of Eden.
")
")
The Fourth Day
Subject 16 advised "It happened once before. The Pieces were once part of a whole." The first puzzle was a 'common theme' picture set: selecting the five pictures revealed a depiction of the sun: Nazca Textile c. 200; Aztec Calendar Stone 1427; The Eastern Gate 1816; Book of the Dead c. 1310 BCE.; Sistine Chapel Ceiling Fresco 1512.
Finally Desmond needed to locate the Earth within the picture of the Sun. It was located just below and left of the center. There were also four unencrypted messages in the picture, indicating that "fire from the heavens" caused terrible loss of life.
")
The Origin of the Species
The first puzzle was a picture ring: twisting Ring Five 10 times to the right, Ring Four 2 times to the left, Ring Three 2 times to the right, Ring Two 5 times to the right, and Ring One 3 times to the left completed the puzzle.
Next was a picture location puzzle. There were no hidden messages in the picture. When the cursor was held over the eye at the top of the picture an image of the Vitruvian Man is revealed, which was Desmond's target.
Desmond would now come to a Caesar wheel that had no values on it whatsoever. The clue was in the Assassin's creed that was displayed: everything is permitted. Submitting any combination of symbols allowed the puzzle to proceed.
Desmond was shown an Abstergo memo from 3 January 1997, instructing that faked fossil evidence must be planted for Tim D. White to find so the world continued to believe human evolution did not have any assistance.
For the final part of the puzzle, moving Desmond's Apple cursor over each of the bones in the hominid skeleton transmuted the skeleton into a Homo sapiens skeleton.
")
")
Related Achievements/Trophies
| Icon | Name | How to obtain | Points | Trophy |
|---|---|---|---|---|
|
Tip of the Iceberg | Use Ezio's Eagle Vision to scan a Glyph in the environment | 10 |
Bronze |
|
Vitruvian Man | Unlock all 20 pieces of Subject 16's video | 20 |
Bronze |
References
- ↑ 1.0 1.1 1.2 1.3 Assassin's Creed II
- ↑ Assassin's Creed - Vidic's e-mail - subject line Subject No. 16
- ↑ Assassin's Creed
- ↑ Assassin's Creed: Brotherhood
See also
- Cryptic Messages
- Decryptions of The Truth
- Subject 16
- The Truth
- Rifts
- Abstergo Files
| |||||||||||||||||||||||||||||||||||||