
|
Patience, brothers. Soon we will reveal the secrets of the Assassin's Creed: Black Flag novel, The Lost Journal, Assassin's Creed: Reflections and Assassin's Creed: Rebellion – Dead Men's Gold. This article has been identified as being out of date. Please update the article to reflect recent releases and then remove this template once done. |
- "For years I've been rushing around, taking whatever I fancied, not giving a tinker's curse for those I hurt. Yet here I am... with riches and reputation, feeling no wiser than when I left home. Yet when I turn around, and look at the course I've run... there's not a man or woman that I love left standing beside me."
- ―Edward Kenway, reflecting on his life before aiding the Assassins, 1721.[src]-[m]
Edward James Kenway (1693 – 1735) was a Welsh-born British privateer-turned-pirate and a member of the West Indies and British Brotherhoods of Assassins.
Born to humble farmers, Edward always sought to acquire riches and fame. He became a privateer for the Royal Navy early in his life and, once accepted, found himself stationed in the West Indies. However, an abrupt end to the War of the Spanish Succession and the promise of gold, glory and fame eventually seduced him into a life of piracy. It was during this quest that Edward first encountered the Assassin and Templar orders, and became embroiled in their struggle.
Over the next few years, Edward struggled with the internal conflict that arose from his desire for fame and riches—through finding the Observatory—and his duty to his friends. After losing nearly all of his closest friends, he realized the folly of his quest for glory. He then joined the Assassin Order, hunted down the Templars in the region and entrusted the Observatory to the Assassins.
After a decade in the West Indies, Edward returned to Britain and received a pardon from Robert Walpole. He soon acquired an estate in London and married Tessa Stephenson-Oakley, with whom he fathered a son named Haytham. He quickly joined the British Brotherhood of Assassins, rising up to the rank of Master Assassin, and eventually, leader. Continuing his work as an Assassin, Edward researched the First Civilization, and kept the research in a journal. In 1735, he was killed by mercenaries in the employ of the Templar Grand Master Reginald Birch, in order to acquire the journal. Haytham would later father Ratonhnhaké:ton; through this line, Edward is an ancestor of William Miles, and his son, Desmond.
In 2013, Abstergo Entertainment tasked a research analyst exploring Edward's genetic memories in order to gather footage for a planned video game, Pirates of Nightmares. Three years later, Abstergo Entertainment uses the resources to make a downloadable content for Identity Project.
Biography
Pre-birth
During the Peloponnesian War, after the Cult of Kosmos had been defeated by the Spartan misthios Kassandra, she saw a vision of Edward and all the Assassins that would follow her legacy in fighting against chaos. This vision alluded to the war that would continue for centuries afterwards between the Assassins and the Templars.[3]
Early life
Youth in Bristol
- "I want food that don't make me sick. I want walls that hold back the wind. I want a decent life."
- ―Edward to Caroline, 1711.[src]
Edward was born in Swansea, Wales, to Bernard and Linette Kenway; at the age of ten, his family relocated to a farm in Bristol, in South West England.[1] However, the pastoral life did not agree with Edward and he became a well-known troublemaker in his adolescence.[4]

Edward with Caroline
At the age of seventeen, Edward met Caroline Scott, who intervened on his behalf during an altercation outside the Auld Shillelagh tavern, in which Edward was defending Rose, one of the Scott family's housemaids, from being raped by Tom Cobleigh. Edward immediately fell in love with Caroline and asked her to meet again sometime, but she refused, as her father would not allow such a breach of social etiquette after having already promised her to Matthew Hague, the son of a prominent East India Company executive.[4]
Despite their differences in social status, Edward still pursued his love for Caroline.[1] Through Rose, Edward learned that Caroline often visited Bristol's port on a weekly basis. Hoping to attract her attention, Edward recruited a young street urchin named Albert to present Caroline with a bouquet of flowers on his behalf. As the boy set off, Edward realized too late that Albert was a thief who intended to steal Caroline's purse.[4]
As Edward moved forward to stop Albert, the thief successfully snatched Caroline's money, but in the process was noticed by her nearby suitor, Matthew, and his hulking bodyguard, Wilson, who caught the criminal and proceeded to beat him. Finally reaching the scene, Edward subdued Wilson before forcing Albert to apologize. Drawn to his fearless conduct, Caroline met Edward that night outside his house.[4]
Setting out for a midnight stroll, Caroline explained to Edward how the thought of becoming Hague's wife, and what society expected her to do after the marriage, sickened her. At the same time, she knew that starting a relationship with Edward would incur the wrath of her father upon them both. Despite the looming threat of Emmett's imminent anger, the couple maintained a secret relationship for the next several months. They finally married in 1712.[4]
Precarious marriage
However, Caroline's father, Emmett, disapproved of the marriage and disowned his daughter without providing a dowry. Deprived of the Scotts' wealth, Caroline and Edward settled in the farm of Edward's parents, who quickly became fond of Edward's young wife, who tried her best in order to acclimate to her new life. But dissatisfied with his life as a farmer and his inability to offer a privileged life to his wife, Edward failed to meet his marital obligations and assiduously frequented the taverns of the area.[4]
During a night of drinking, in late 1712, Scott approached an inebriated Kenway in a tavern and offered him a deal, sending Caroline back to him by leaving her in exchange for a large sum of money. Scott tried to convince him to accept his offer, but Kenway fainted before giving an answer and his father-in-law took him to the Kenway farmstead, where he took the opportunity to show his distraught daughter what a bad husband Edward was.[4]
The next day, Scott received the visit from Edward, who refused his offer and proposed him another deal. In accordance with his own plans, Kenway was going to try to make his fortune as a privateer in the West Indies and promised not to return to England until he became rich. To Scott, who wanted the marriage to end, Edward pointed the fact that the odds were great that he died at sea, making Caroline a widow able to marry again, and that Scott could also take advantage of his absence by trying to turn Caroline against her husband. Scott agreed to Edward's offer, and Kenway announced his departure to Caroline, who left the farm and came back to her father's house in Bristol, angry with Edward's decision.[4]
But the night Kenway embarked on his assigned ship, Emmett Scott sent the Templar Wilson and some members of the Trade Organization, including Edward's nemesis, Tom Cobleigh and his associate Julian, to set fire to the Kenways' farm while Bernard and Linette were sleeping inside, in order to prevent Caroline from ever coming back to them during Edward's absence. With Edward's departure being delayed, he returned in time to warn his parents and tracked the arsonists, but was knocked out and put on his departing ship by a hooded Wilson, who assured him that no more harm would come to his parents if he respected his pact with Scott.[4]
Despite Edward managing to save his parents, his father disowned him, seeing him to have brought nothing but trouble on the family. Distraught, Edward sought revenge on the Cobleighs, killing Julian in the process. Before Edward could interrogate Tom, the latter was killed by Wilson. Edward tried to engage Wilson, but was bested by the more experienced swordsman. Knocked unconscious by Wilson, Edward found himself aboard the Emperor, the ship he was intended to sail on.[4]
Life as a privateer
Sailing under the Emperor, Edward was often harassed by his more experienced and hardened peers, especially the brutish sailor Blaney. Initially bullying Edward as means of asserting his superiority, Blaney came to genuinely hate Edward for not fearing him.[4]
The Emperor's captain, Alexander Dolzell, soon foresaw that the War of the Spanish Succession was soon coming to a close, meaning that privateers would be put out of business. Dolzell announced his plans to turn to piracy to his crew, and offered those who decided not to partake in piracy safe passage home. Before Edward, not willing to become a pirate, could join those like him, he was stopped by his fellow sailor Friday. Edward then saw the sailors who wanted to leave the crew thrown overboard.[4]
In 1713, Edward participated in the Emperor's capture of a British merchant ship named the Amazon Galley, and was assigned along with Blaney to guard the ship's captain, Benjamin Pritchard. Edward recognized the ring that Pritchard was wearing which matched the ring worn by Wilson. Pritchard offered Edward answers in exchange for his safety, but he was soon executed by Dolzell's blade.[4]
At the same time, the privateer Edward Thatch and his crew came to the rescue of the Amazon Galley, still loyal to the British Crown. Seeing that they were outnumbered, Blaney decided to mutiny against his former crew, killing first mate Trafford before moving in on Edward. However, Thatch took a liking to Edward, and instead proposed a brawl to decide who should join his crew, pitting Edward against Blaney.[4]
While the larger Blaney was physically stronger than Edward, the latter's smaller size outmaneuvered the brute. Although Edward landed several good hits on Blaney at the beginning, Blaney soon got the upper hand and eventually drew a blade. However, because Blaney broke the rules by using a weapon, he was quickly shot dead by Thatch. Edward, as the victor, joined Thatch's crew.[4]
Under Thatch's tutelage aboard the Sea Dog's Bite, Edward learned how to properly wield a sword as well as a pistol.[4]He was also guided by Thatch's own mentor, Benjamin Hornigold. He remained in Jamaica for six months until the Treaty of Utrecht in early 1713, which effectively ended all conflict between the major empires. As a result, British privateers were no longer needed or tolerated in the West Indies, causing Edward to find himself out of work. He subsequently took to piracy and joined Abel Bramah's crew, working aboard a brig named the Jacobite.[5]
Life as a pirate
Impersonating Duncan Walpole
In June 1715, Edward's ship attacked a passing vessel which proved to be too much for the crew to handle. With their Captain dead, Edward took the helm and did his best to keep the ship afloat. While the pirates emerged victorious thanks to the storm, the ship's magazine caught fire and exploded, sinking the ship. Shipwrecked in Cape Bonavista, Edward met the only other survivor, an Assassin named Duncan Walpole, whose ship the pirates had attacked.[6]
Washing up next to Edward, Walpole was wounded by the shrapnel from the magazine's explosion. He offered to pay Edward for passage to Havana. Edward agreed upon condition of immediate payment, and advanced toward Walpole. Concerned, the Assassin drew his pistol, but it misfired due to wet gunpowder. Walpole fled, and Edward pursued him through the jungle, taking an interest in Walpole's Hidden Blade. Cornering Walpole, Edward quickly dispatched the wounded Assassin.[6]

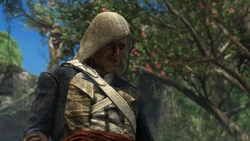
Edward donning Duncan's robes
Looting Walpole's body, Edward found a letter from Governor Laureano de Torres y Ayala of Havana, detailing Walpole's intended defection to the Templar Order. Oblivious to the implications of the letter, Edward donned Walpole's Assassin robes but was forced to discard the broken Hidden Blade, and collected a crystalline rectangular prism which was to be delivered to Torres for payment.[6]
Edward shortly encountered a group of British soldiers harassing a merchant named Stede Bonnet, whom they believed to have been one of the pirates involved in the earlier battle. After dispatching the soldiers, Edward introduced himself to Bonnet using Walpole's name and accompanied him to Havana.[6]
Upon arriving, the two traveled to a local tavern to meet with Bonnet's contact, where several thugs recognized Edward as a pirate and provoked him into a fight. After dispatching the men, Edward was forced to flee as Spanish soldiers entered the tavern and began to chase him.[7] While he was able to escape, the Spanish turned on Bonnet and seized his ship's holdings, including the package meant for Torres. Edward infiltrated the Spanish fort to recover the package before going to the intended meeting with Torres.[8]
Introduction to the Templar Order
Edward carefully maintained his charade as he conversed with prospective Templars – Woodes Rogers, whose wife had met Duncan, and Julien du Casse. Du Casse equipped Edward with a new pair of Hidden Blades and requested that Edward show them some Assassin techniques in action. Picking up on hints from Du Casse and Rogers, Edward was able to replicate the moves with relative accuracy.[9]
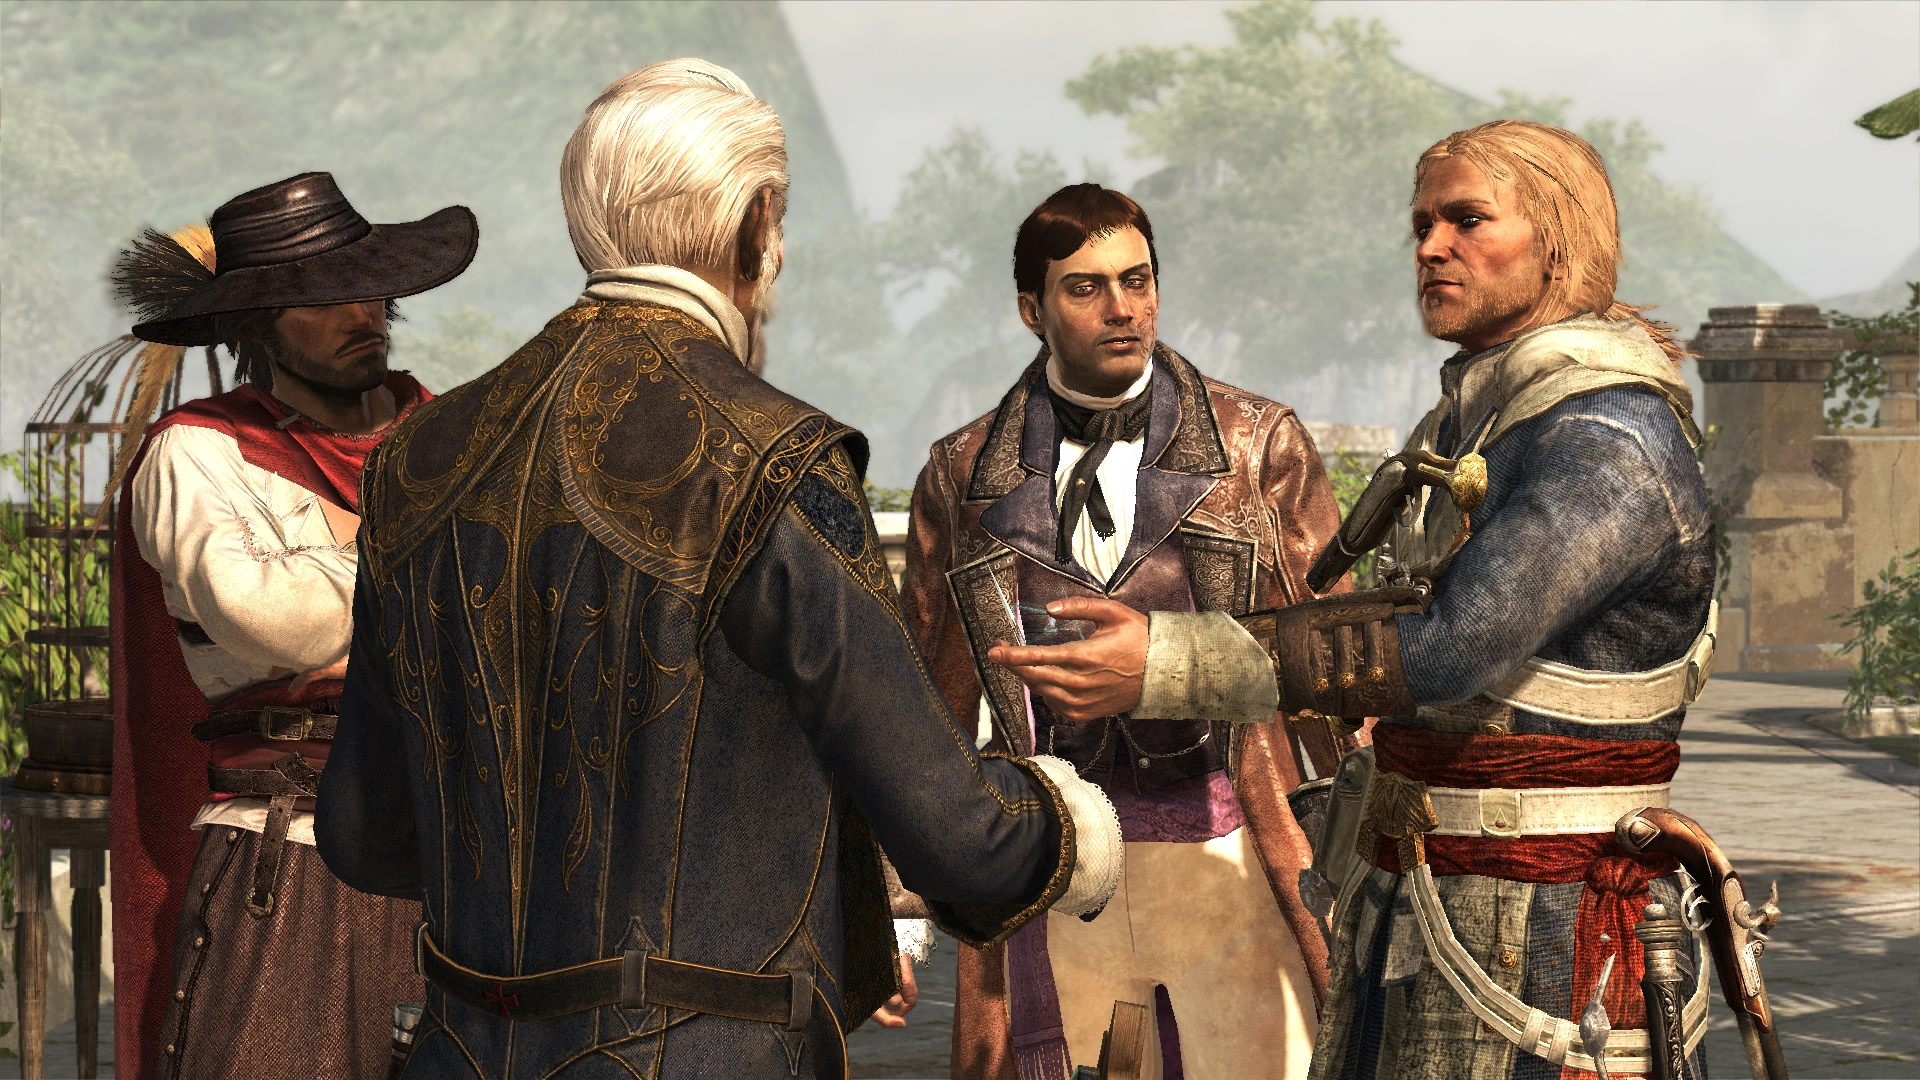
Edward meeting with the Templars
When Torres eventually arrived, Rogers, Du Casse and "Walpole" were officially inducted into the Templar Order. Edward listened to Torres' plans to locate a First Civilization site known as the Observatory, which the Templars believed would allow them to monitor every person in the world and learn all their secrets. Uninterested, Edward took the opportunity to pickpocket the Templars as they discussed their plans.[9]
The four then traveled to the city docks to retrieve a man named Bartholomew Roberts, an alleged Sage who knew the Observatory's location. On the way back to the governor's house, they were ambushed by Assassins and Roberts fled, though Edward managed to chase him down and retrieve him. As Roberts was led away, Torres gave Edward Walpole's intended pay for a job well done – 1000 reales.[10]
Later, meeting with Bonnet, Edward complained about the pay he had received, believing it was insufficient. He then resolved to discover the Observatory's location and sell it to the highest bidder, and realized he would need the Sage's assistance. He infiltrated the prison where Roberts was being held, only to find the Sage gone and the Templars, having discovered his ruse, waiting for him. For robbing them of Walpole's valuable expertise, Torres had Edward imprisoned on a ship in the Spanish Treasure Fleet heading for Seville, to deliver him to British Templars in London.[11]
Captain of the Jackdaw
Edward managed to escape confinement with the help of a similarly imprisoned Adéwalé, where they recruited a number of other prisoners, and stole one of the fleet's ships in the process. Hit by a storm, they narrowly managed to escape before the entire accompanying fleet was sunk.[12] Edward decided to name his newly acquired ship Jackdaw and, realizing that hardly any of his new crew would accept Adéwalé as captain, dubbed him Quartermaster.[13]

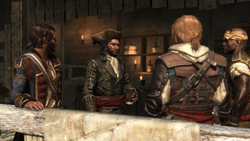
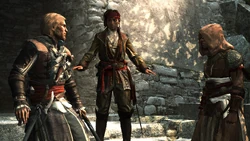
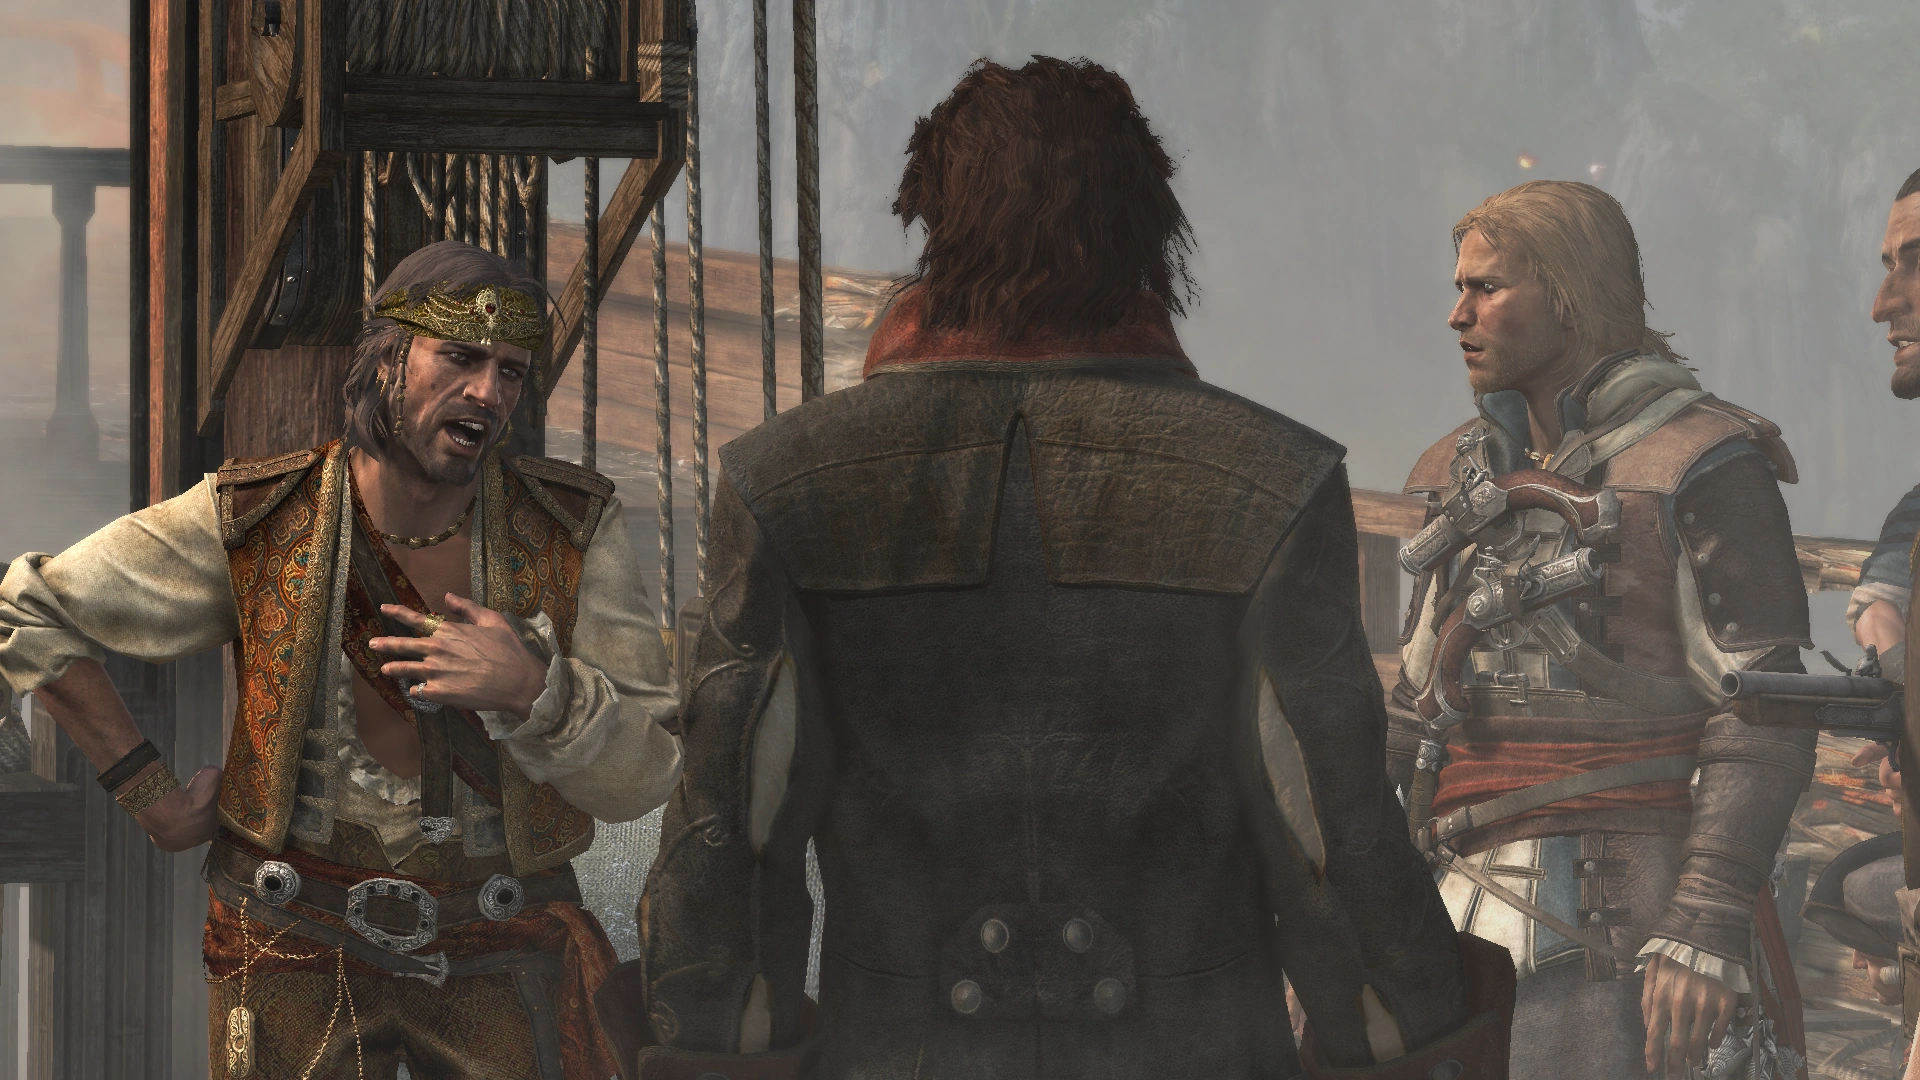
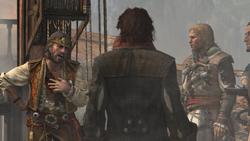
Edward meeting with his fellow pirates
Heading to Nassau with his new ship, Edward introduced Adéwalé to three of his old associates – Edward Thatch, James Kidd and Benjamin Hornigold. Edward then moved throughout the British-occupied town, freeing imprisoned pirates to recruit as crewmen and weakening British control over the island.[14] With that complete, he began working with Hornigold and Kidd to carry out lucrative missions, plundering ships with the former and raiding a nearby plantation with the latter.[5]
Thatch shared with Edward his concerns about protecting their newly formed "Pirate Republic" from British recapture, and proposed a plan to take a particular Spanish Galleon in order to better protect the nascent revolutionary state. At his request, Edward located and tailed the Galleon to Great Inagua, only to learn that the ship was owned by none other than Julien du Casse. Reasoning that du Casse could not be allowed to live and spread news of Edward's escape, Edward approached the cove through the jungle, snuck aboard the ship and assassinated du Casse.[5]
James Kidd congratulated Edward on his victory, and brought him to a Mayan stela in the jungle, telling him to use "the light of life" to uncover the treasure to which it pointed. Kidd then showed Edward an underground tunnel leading to the du Casse manor and the special armor locked away there, and proposed that Edward keep the island as his base. He also requested that Edward meet him in Tulum in several weeks' time, as he had more to show Edward there.[5]
Introduction to the Assassins
- "Jaysus, Kidd! You led me into a mess. Is it these monks guarding the treasure you promised me?"
- ―Edward Kenway to James Kidd, 1716.[src]
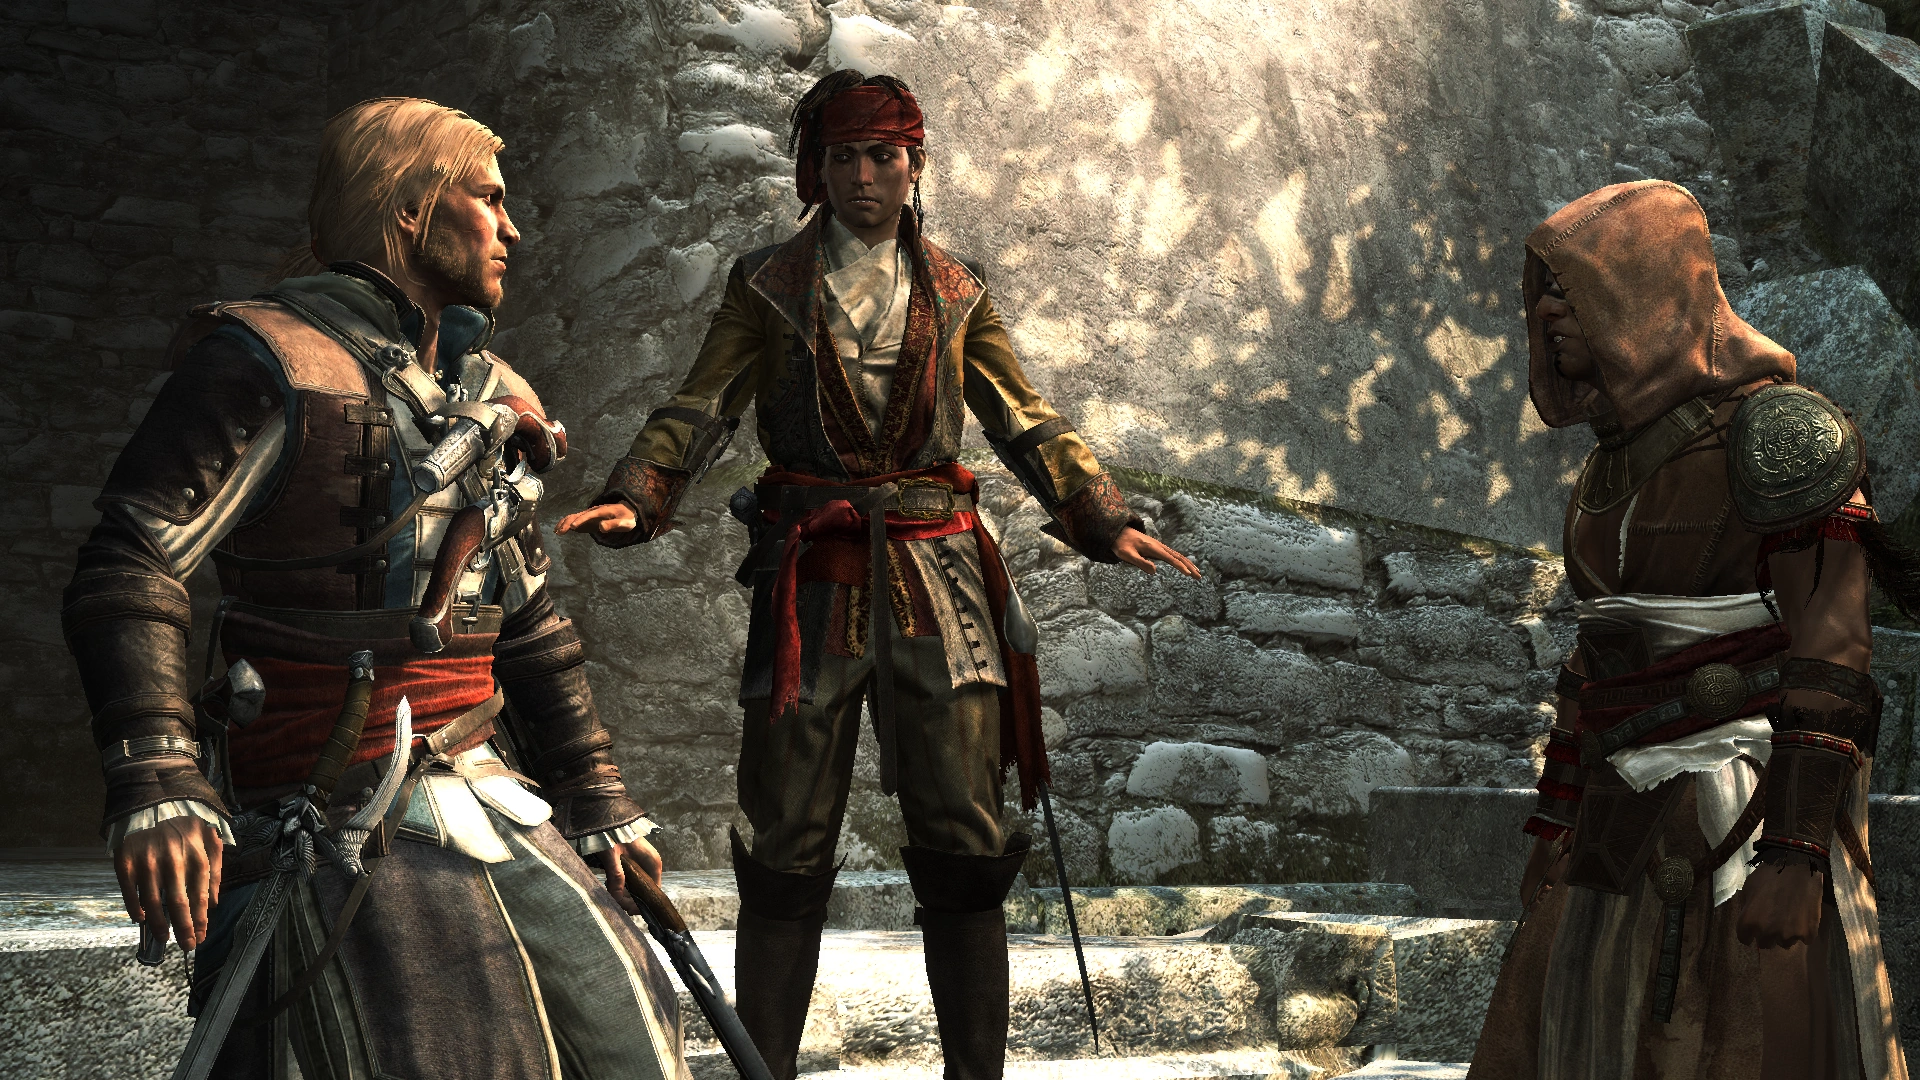
Ah Tabai questioning Edward about the Sage
Arriving in Tulum, Edward found himself having to sneak through the jungle to meet with Kidd, as the area was heavily guarded by Assassin forces. Upon their eventual meeting, Edward was set upon by Ah Tabai, who demanded to know why Edward had sold their location to the Templars and attacked the Assassins in Havana. Kidd diffused the situation by telling Ah Tabai that Edward had "the Sense", and requested leave for them to enter a nearby temple. After claiming that he would recognize Bartholomew Roberts if he saw the man again, Edward was granted access to the temple with Kidd.[5]
While explaining the nature of the Assassin-Templar conflict and the Creed, Kidd led Edward to an antechamber containing a sculpture of the Sage. Edward originally claimed that it did not resemble Roberts at all; however, as he and Kidd completed an associated puzzle, layers of the sculpture were removed to show a better likeness underneath. Astonished, Edward confirmed that the statue perfectly resembled Roberts.[5]
When Edward and Kidd exited the temple, they found the Assassin base under siege by Templar forces. Edward aided the Assassins in their fight, freeing several who had been captured and earning the appreciation of Ah Tabai. However, considering the damage he had caused through negligence, Ah Tabai decreed that Edward was not welcome in Tulum any longer.[5]
In pursuit of Roberts
- Torres: "Two years ago we offered a reward for the Sage's recapture. Today someone claims to have found him. This gold is his ransom."
- Edward: "Who found him?"
- Torres: "A slaver by the name of Laurens Prins. He lives in Kingston."
- Edward: "We like this story, Torres. And we want to help you finish it. But we're going to do it our way. Using you and your gold."
- —Laureano de Torres and Edward discuss Roberts, 1716.[src]
Upon his return to Nassau, Edward learned from Charles Vane and Jack Rackham that Governor Torres of Cuba was residing in a fort with a sizable amount of gold that Charles aimed to steal. Undercutting him, Edward quickly sailed to Torres' location and captured the fort.[5]
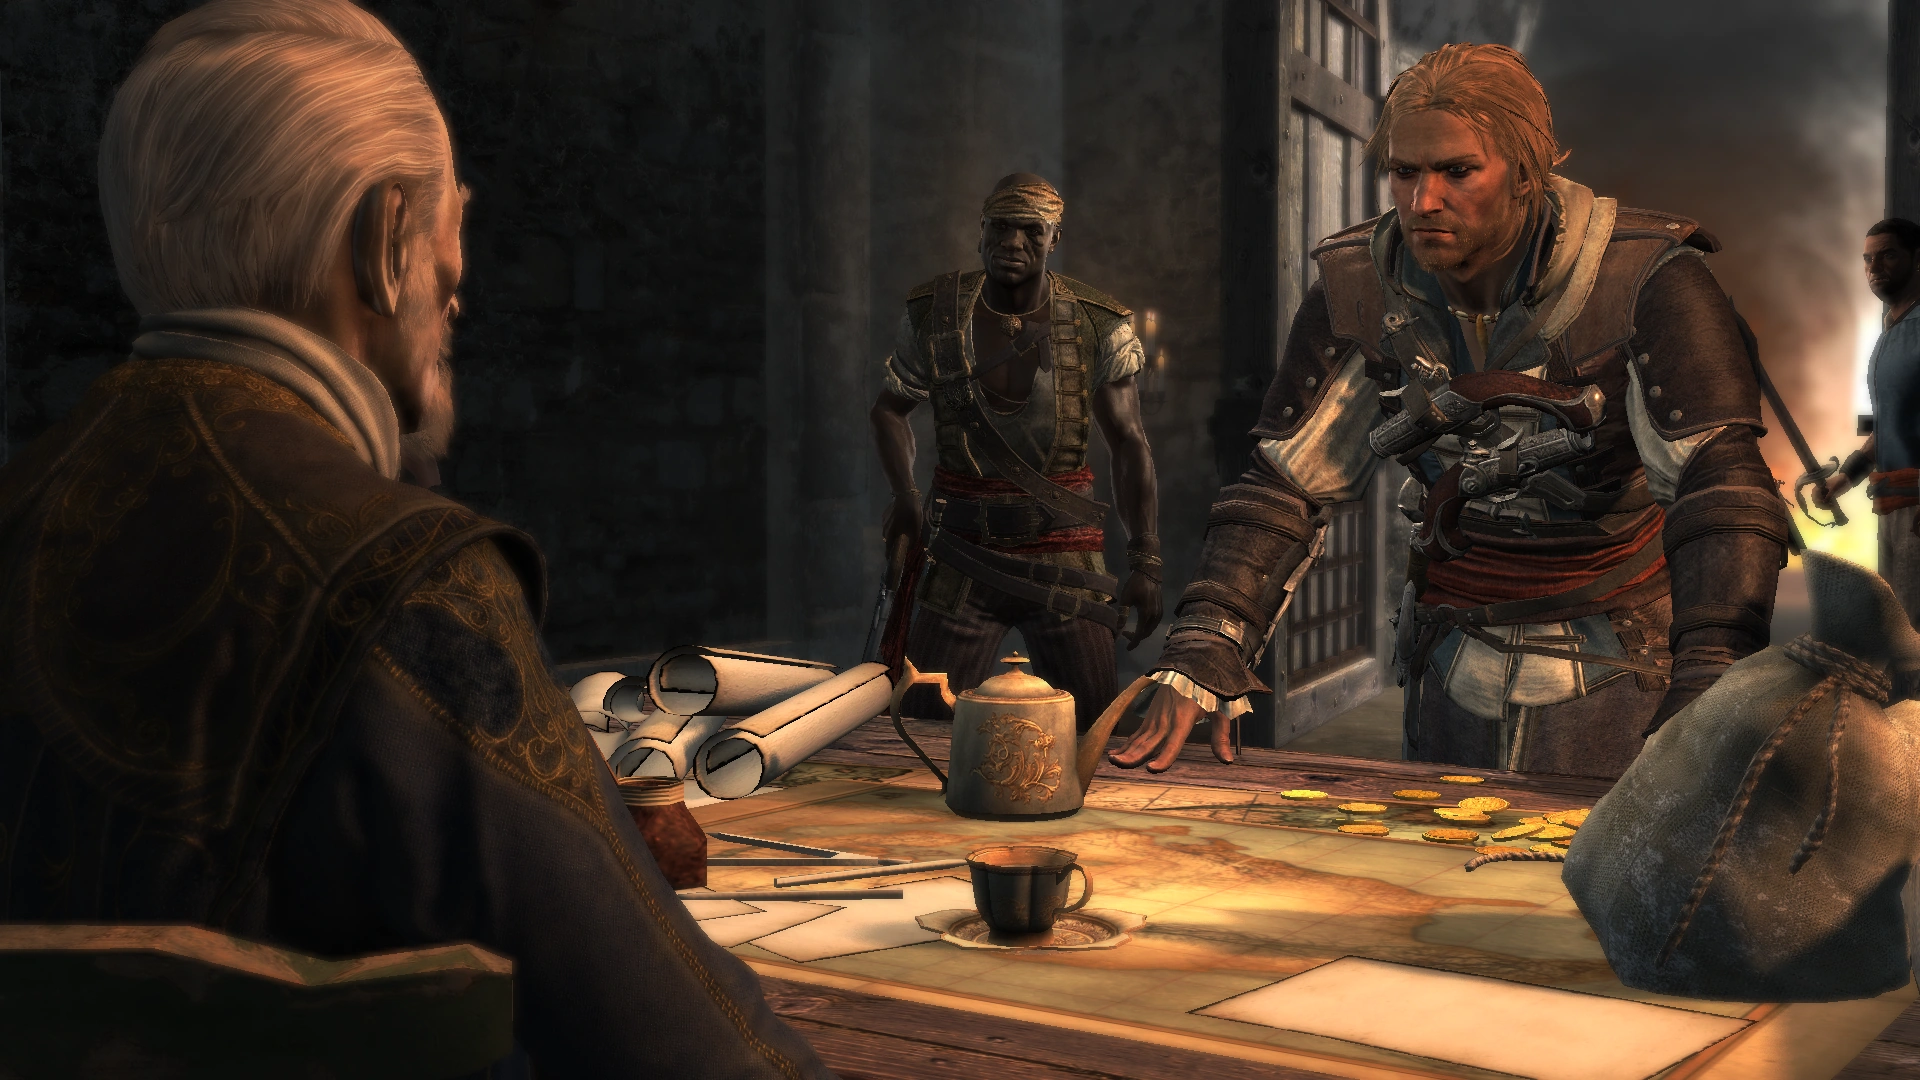

Edward interrogating Torres
Inquiring about Roberts, Edward learned that the Sage had been captured by a Kingston-based slaver name Laurens Prins, who was ransoming him to the Templars. Edward decided to use the opportunity to reach Roberts himself, and coerced Torres into aiding him. When they arrived in Kingston, Edward started to tail Torres, only to discover James Kidd was also pursuing Prins, intending to assassinate him.[5]
Reluctantly, James agreed to Edward's request not to assassinate Torres and Prins until they had uncovered the Sage's location. Despite being detected, the two eventually tracked Prins down to his manor in the north of the city. Edward agreed to aid James in the infiltration and the assassination of Prins. James, noticing that they would not be able to get far through stealth alone against such a heavily guarded complex, elected to act as a distraction. Removing her bandanna and reddening her lips, James revealed herself to be a woman.[5]
Edward quickly overcame his confusion and, using "James'" distraction, snuck into the manor's gardens and assassinated Prins. Moments later, Edward was surprised to find Roberts free from confinement and holding "James" at gunpoint. Roberts revealed that he was working for Prins, but was not surprised to hear about his betrayal. Shooting the alarm bell, Roberts made his escape, followed shortly by his two would-be rescuers.[5]
Escaping Prins' property and regrouping with "James", Edward requested her real name; she told him it was Mary Read, and that if he informed anyone of her true identity, she would "unman" him.[5]
Medicines for Nassau
- Thatch: "Caution's nothing without charisma! For if a man plays the fool, then it's only fools he'll persuade. But appear to be the devil, and all men will submit."
- Kenway: "And would you be the devil?"
- Thatch: "For an audience, aye. It's all a big show. Give your quarry something to fear, some hellish thing from a fever'd dream, and men will drop to their knees pleading for their Lord before aught else!"
- —Edwards Thatch and Kenway discuss the use of intimidation over force, 1718.[src]
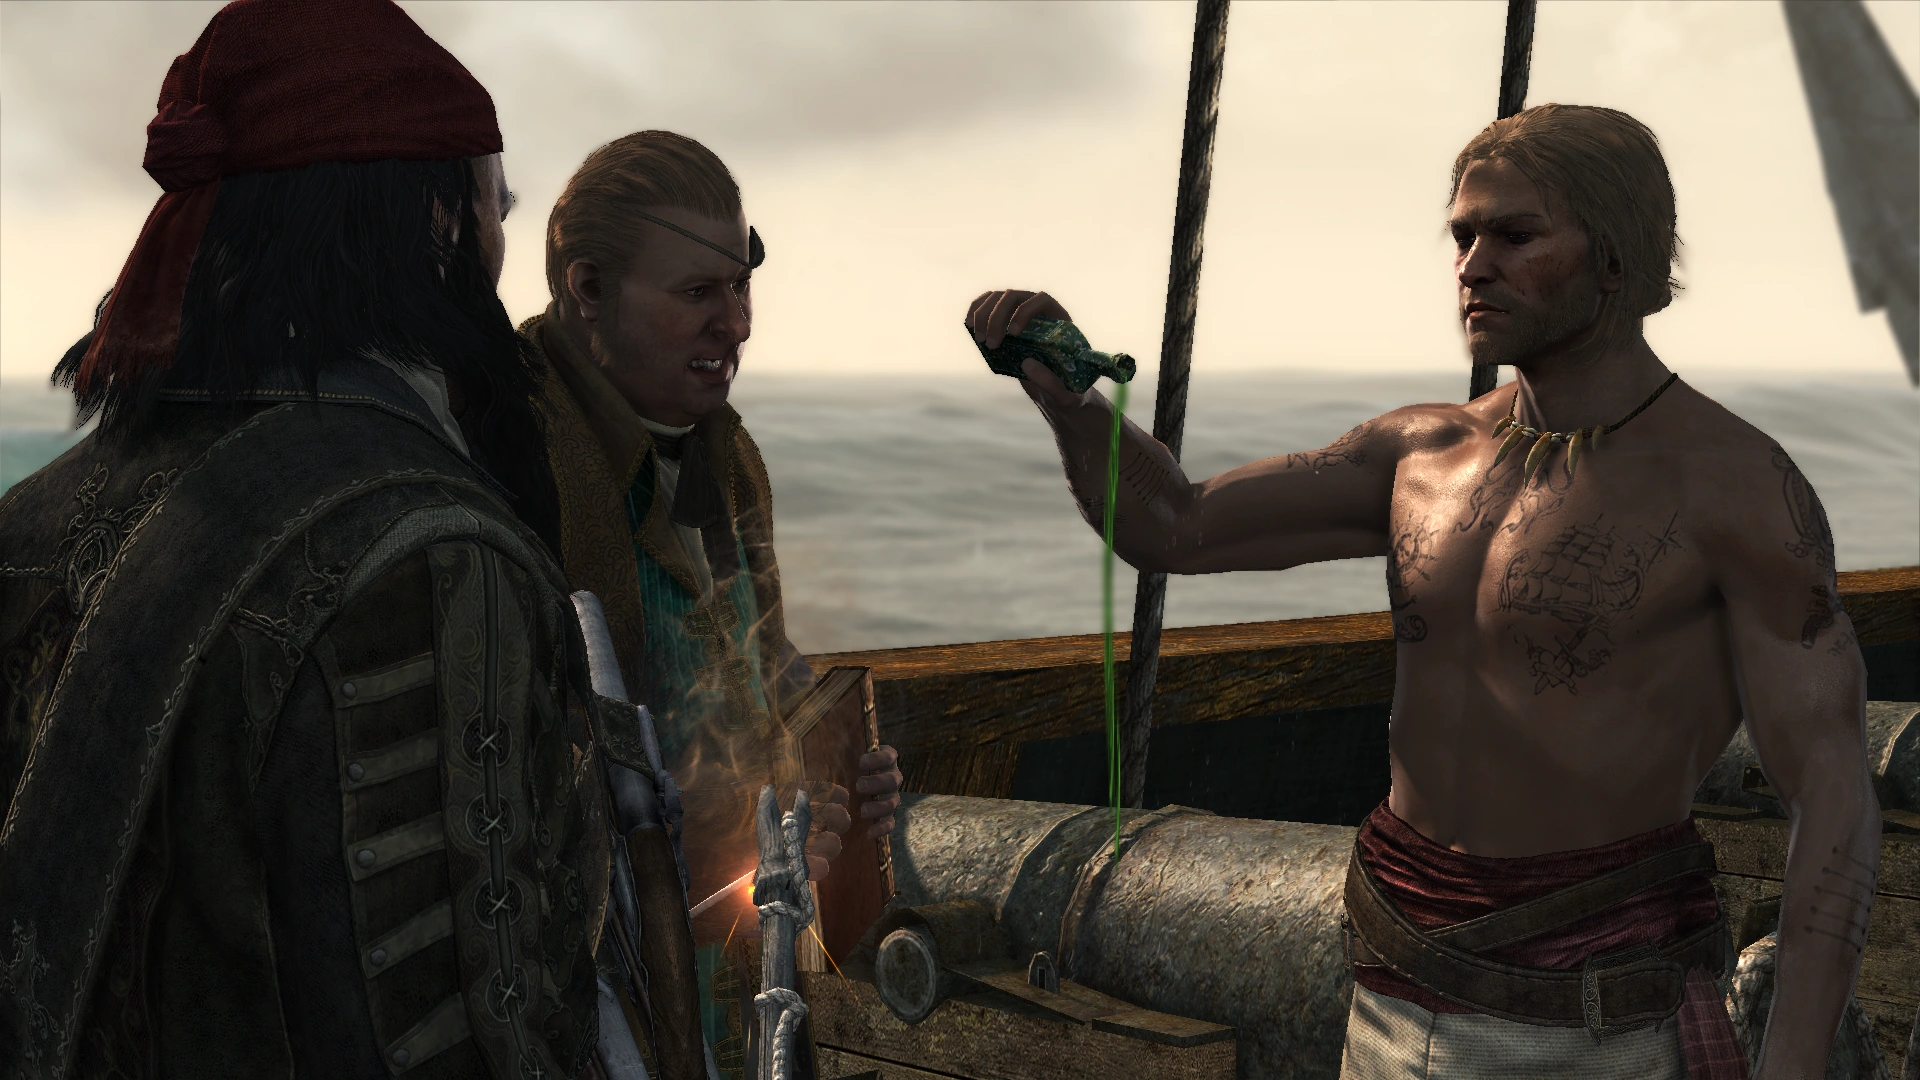
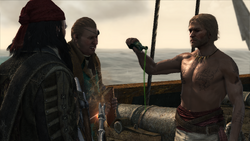
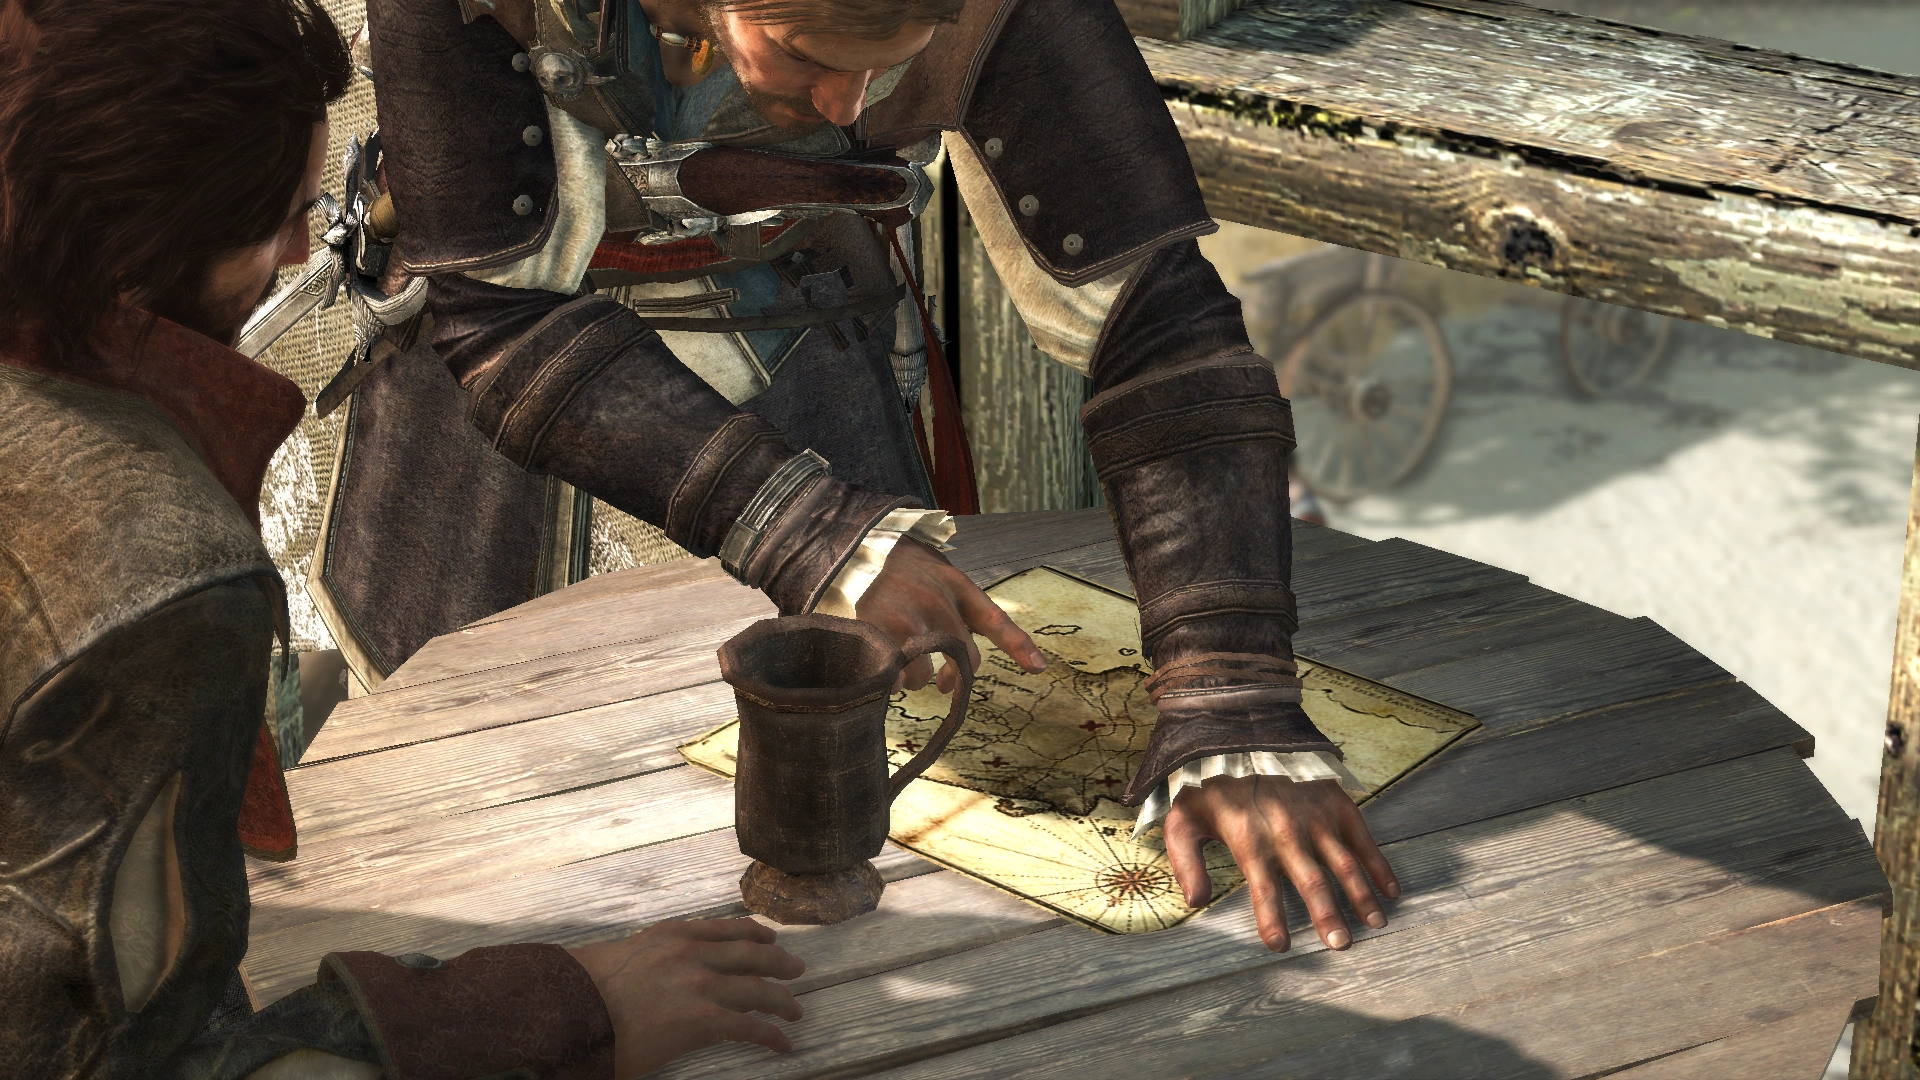
Edward showing the spoiled medicine to Thatch and Bonnet
The following year, in 1718, word reached Nassau of a general pardon for all pirates being issued by Woodes Rogers – the new Governor of the Bahamas. Thatch and Hornigold disagreed on how they should address the situation; the former favored the use of force to keep the Pirate Republic alive, the latter a period of quiet to turn prying eyes away from Nassau. Hornigold stated that without proper care, including medicine for the sick, Nassau was not worth attempting to save. Edward agreed and elected to procure some medicine in a way that did not draw British attention. Remembering the storm that sunk the Spanish Treasure Fleet, he suggested searching the wrecks for any medicine that might have survived.[5]
Edward purchased a diving bell and met with Thatch at the site of the sinking; unfortunately, the medicine had not survived three years at the bottom of the ocean. Disappointed, Thatch left, but was shortly pursued by Edward.[5]
Soon enough, Edward learned that Thatch had attacked a British Man O' War in an attempt to gain some medicine, and was now in trouble. Sailing the Jackdaw to his location, Edward managed to relieve Thatch of his predicament and took control of the Queen Anne's Revenge, before disabling the Man O' War and plundering the cargo. However, because the amount of medicine they acquired was small, Edward suggested they travel to Charles-Towne – whose stamp adorned the medicine crates – to retrieve the whole lot.[5]
Siege of Charles-Towne
- Kenway: "What the hell are you doing, man? All of Charles-Towne can see this mess."
- Thatch: "That's the idea. Out of range, but well in sight."
- —Kenway on Thatch at Charles-Towne, 1718.[src]
Edward meeting with Thatch at Charles-Towne
One month later, the two met near Charles-Towne, where Edward was shocked to see Queen Anne's Revenge brazenly off shore with hostages aboard. Thatch revealed that he had spent eight days there, waiting for the medicine to be delivered, but that the crew he had sent ashore a week prior to retrieve it had not been heard from since. Edward set out to retrieve the medicine personally.[5]
After discreetly guiding the Jackdaw through the bayou, Edward snuck ashore and forcefully obtained the key to the storeroom holding the medicines. He returned to Queen Anne's Revenge with two crates, as well as the means to make more. Thatch congratulated him, but then revealed he would not be returning to Nassau, instead choosing to retire while he still had time to enjoy it.[5]
Blockade of Nassau
Shortly after his return to Nassau, the city was blockaded by the Royal Navy; Woodes Rogers came ashore to publicly announce the general pardon being offered to the pirates, but warned that, for the time being, they were restricted to the island regardless of their answer. Hornigold and his crew elected to accept the pardon, whilst Vane angrily rebuked it.[5]
Edward explaining his plan to Vane
Meeting with Vane, Edward decided the time had come to leave Nassau. He proposed using a fireship to ram the British blockade, and went to gather the gunpowder while Vane retrieved the pine pitch.[5]
After procuring the gunpowder, Edward returned to Vane, who was still in the process of retrieving the pitch. While there, the two overheard that Rogers' associate, Commodore Peter Chamberlaine, had decided to ignore the Governor's orders and was set to destroy the pirate fleet that very night. Vane suggested Edward kill the Commodore before he could order the attack. Edward agreed, made his way to the Commodore's warship, and assassinated him.[5]
With Chamberlaine dead, the pirates made their move. Launching the fireship at the British fleet, they punched a hole in the blockade and escaped the area, heading for Kenway's base in Great Inagua.[5]
The death of Blackbeard
- "In a world without gold, we might have been heroes!"
- ―Edward Thatch's last words, 1718.[src]
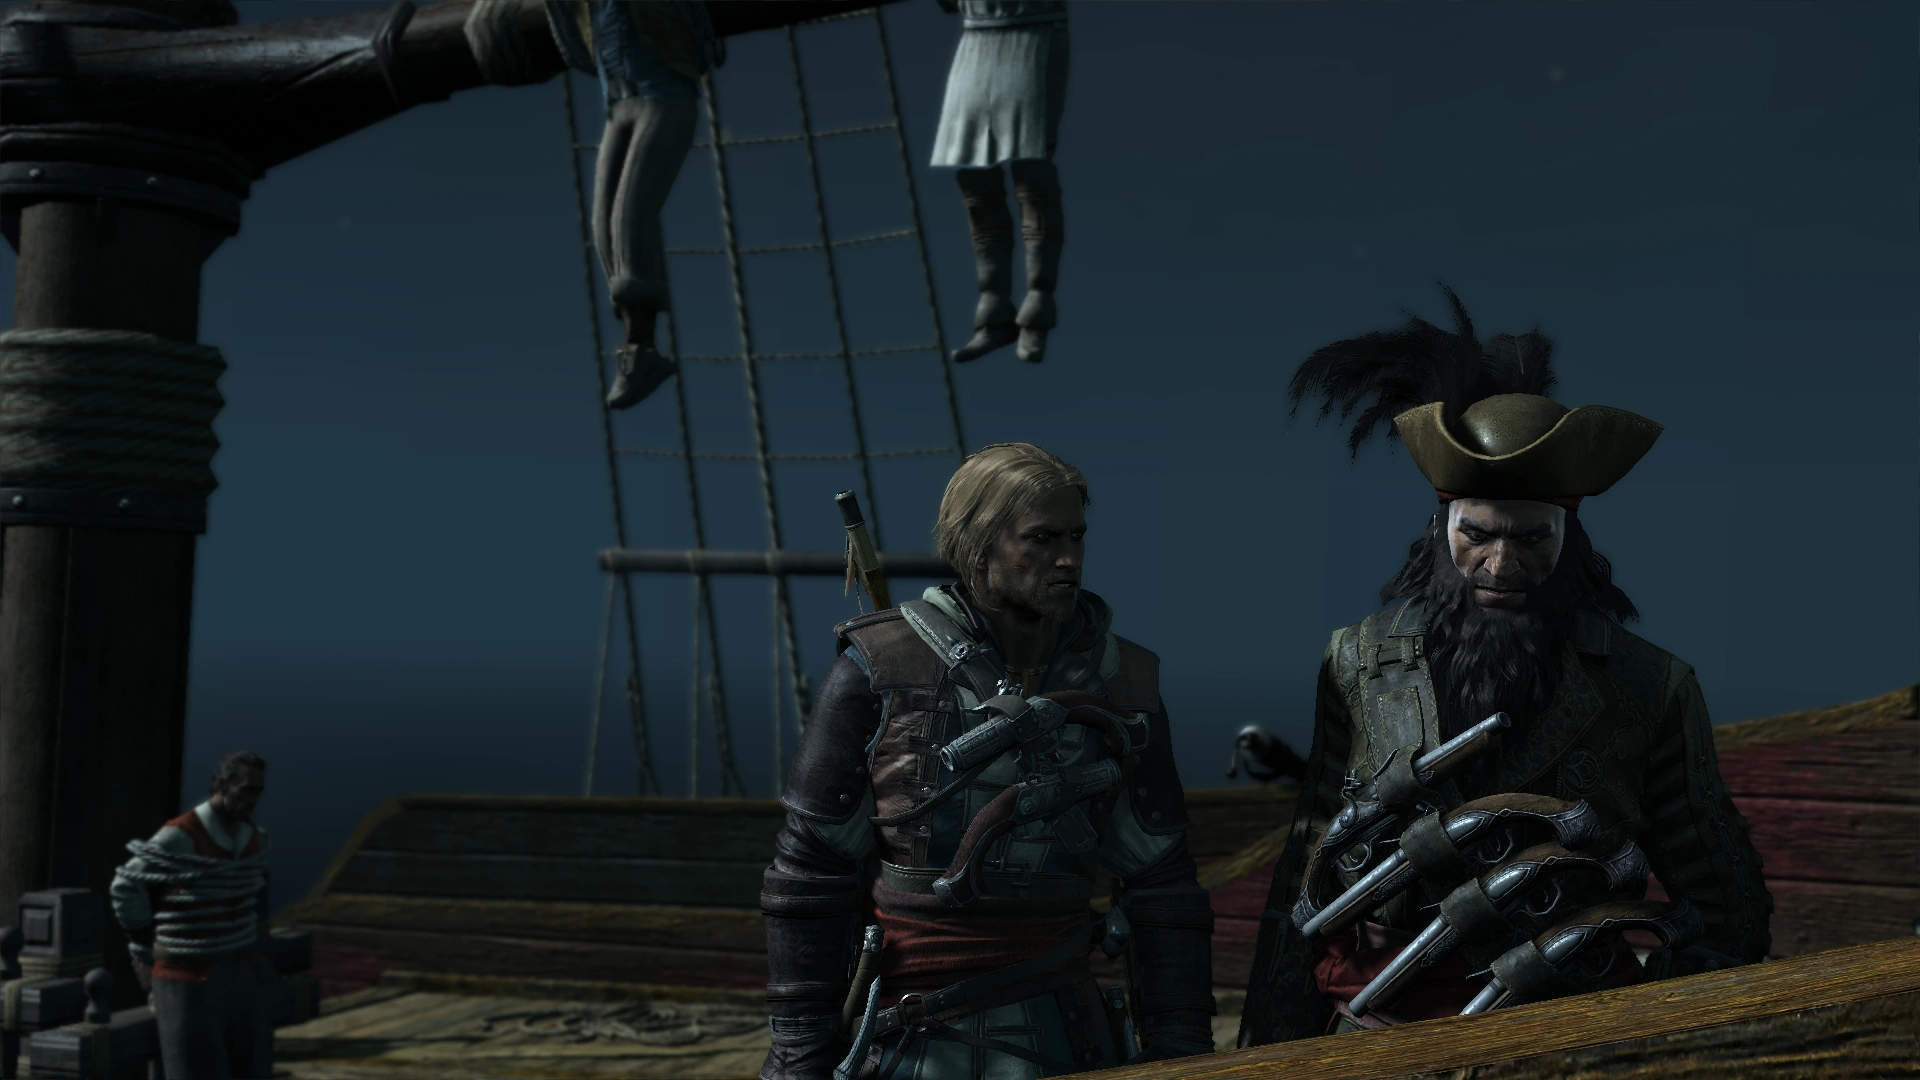
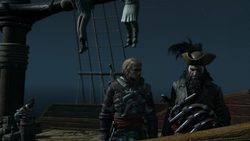
Meeting with Read in Great Inagua, Edward stated his intentions to try and bring Thatch back to the West Indies. He then set sail for Ocracoke, where Thatch had retired to, in order to make the attempt.[5]
When he arrived, he found Vane angrily giving up on his attempts to bring Thatch back to the Pirate Republic; Edward reluctantly accepted that Thatch had no intention of returning, and instead decided to help him celebrate his retirement. As a parting gift, Thatch informed Edward that he had learned about a man named "Roberts", who was working on a slaver ship called Princess. Edward gratefully accepted the information, but soon spotted a local man acting suspiciously.[5]

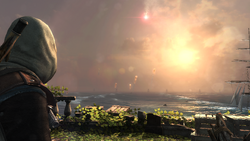
Edward witnessing the British attack
Edward followed the man through the outlying jungle until he had met with a British officer. Eavesdropping on their conversation, Edward heard the two discussing Thatch's reputation. Eventually, they reached a clearing overlooking the village and one of the men launched a flare. Within moments, a nearby British fleet bombarded Ocracoke with mortars, destroying the town and many of the ships in the docks. Edward hurriedly made his way back to the Jackdaw, where he once again met with Thatch, and the two attempted to escape.[5]
They succeeded in disabling and boarding the attacking Man O' War, but were soon overwhelmed. Thatch was surrounded and decapitated by the British, whilst a shocked Edward, who had tried and failed to fight his way to Thatch's aid, was thrown overboard. Deeply shaken, Edward returned to the Jackdaw and eventually fought his way free of the attacking fleet.[5]
Marooned on Isla Providencia
Edward returned to Great Inagua and, disheartened, informed Vane of Thatch's death. Soon enough, a decision was made to pursue the Princess and learn the location of the Observatory. As such, both Edward and Vane traveled south in search of a slaver ship.[5]
Rackham leading the mutiny against Vane and Edward
Once that had located one, both the Ranger and the Jackdaw launched their attack. Quickly overcoming the vessel and capturing its captain, they learned that the Princess regularly sailed out of Kingston. However, before their next move could be decided, Vane and Edward found themselves surrounded by Jack Rackham and the rest of the mutinying crew.[5]
The two were marooned on the island of Isla Providencia. After a few months, Vane grew distrustful and nonsensical, blaming Edward for all their troubles and threatening to kill him. Vane fled, and Edward pursued him into the jungle before being surprised by a stack of muskets and grenades Vane had happened upon.[5]
Sneaking through the ruins, Edward managed to get behind Vane and disarmed him, before leaving him alone on the island. Upon his return to shore, Edward took advantage of the timely arrival of a fishing schooner and used it to return to Great Inagua. There he found Mary Read and Adéwalé waiting, an incarcerated Rackham in tow and the Jackdaw safely docked.[5]
Journey to Príncipe


Edward confronting Hornigold
Edward returned to his pursuit of Roberts. With Adéwalé's help, he learned that the Princess was due in Kingston soon, and that Governor Torres was in the city with Hornigold in attendance. Listening in on their conversation, Edward learned that Hornigold had sent one of his ships to Príncipe, where Roberts had last been seen. Hornigold then spotted the Jackdaw in the harbor and deduced that Edward had been following them. Edward came out of hiding to berate Hornigold for his betrayal, whereupon he was beset by Torres' soldiers. Not wanting to waste time, Edward escaped the soldiers who engaged him and, upon his return to the Jackdaw, set course for Africa.[5]
Months later, Edward and his crew arrived in Príncipe to find the crew of the Princess dead or captured by Hornigold's Templar associates, Josiah Burgess and John Cockram. As Edward searched the remains of their encampment, he came upon Roberts in hiding there. After a tense discussion, Edward and Roberts made a deal; Edward would kill the Templars and free the crew of the Princess in return for Roberts leading him to the Observatory. Edward then completed his end of the bargain, assassinating Burgress and Cockram.[5]
In order to show Edward the Observatory, Roberts deduced that he would have to acquire blood vials. In order to do this, the pair infiltrated a Portugese fleet whose figurehead, a Man O'War named the Nosso Senhor da Compreensão, contained the vials. Equipping the Jackdaw with a Portuguese flag, the pirates managed to get close enough to the Man O' War for their crews to ambush it. While Adéwalé took the Jackdaw to safety, Kenway and Roberts fought off the rest of the fleet and found the vials. With this, Roberts arranged to meet Edward near the Observatory, while taking the Man O' War for himself and naming it the Royal Fortune.[5]
The Observatory
In 1719, Edward met with Roberts off the coast of the Yucatán Peninsula, but soon discovered he had been followed by Hornigold. Edward gave chase and disabled Hornigold's ship, forcing it to beach on a nearby island. Going ashore, Edward managed to evade Hornigold's crew and several British sailors, sneaking behind his old friend before assassinating him. The two had a brief, heated exchange as to the nature of Hornigold's betrayal before he succumbed to his wounds. Edward then returned to Roberts at Cape Long and together, the two traveled inland toward the Observatory.[5]
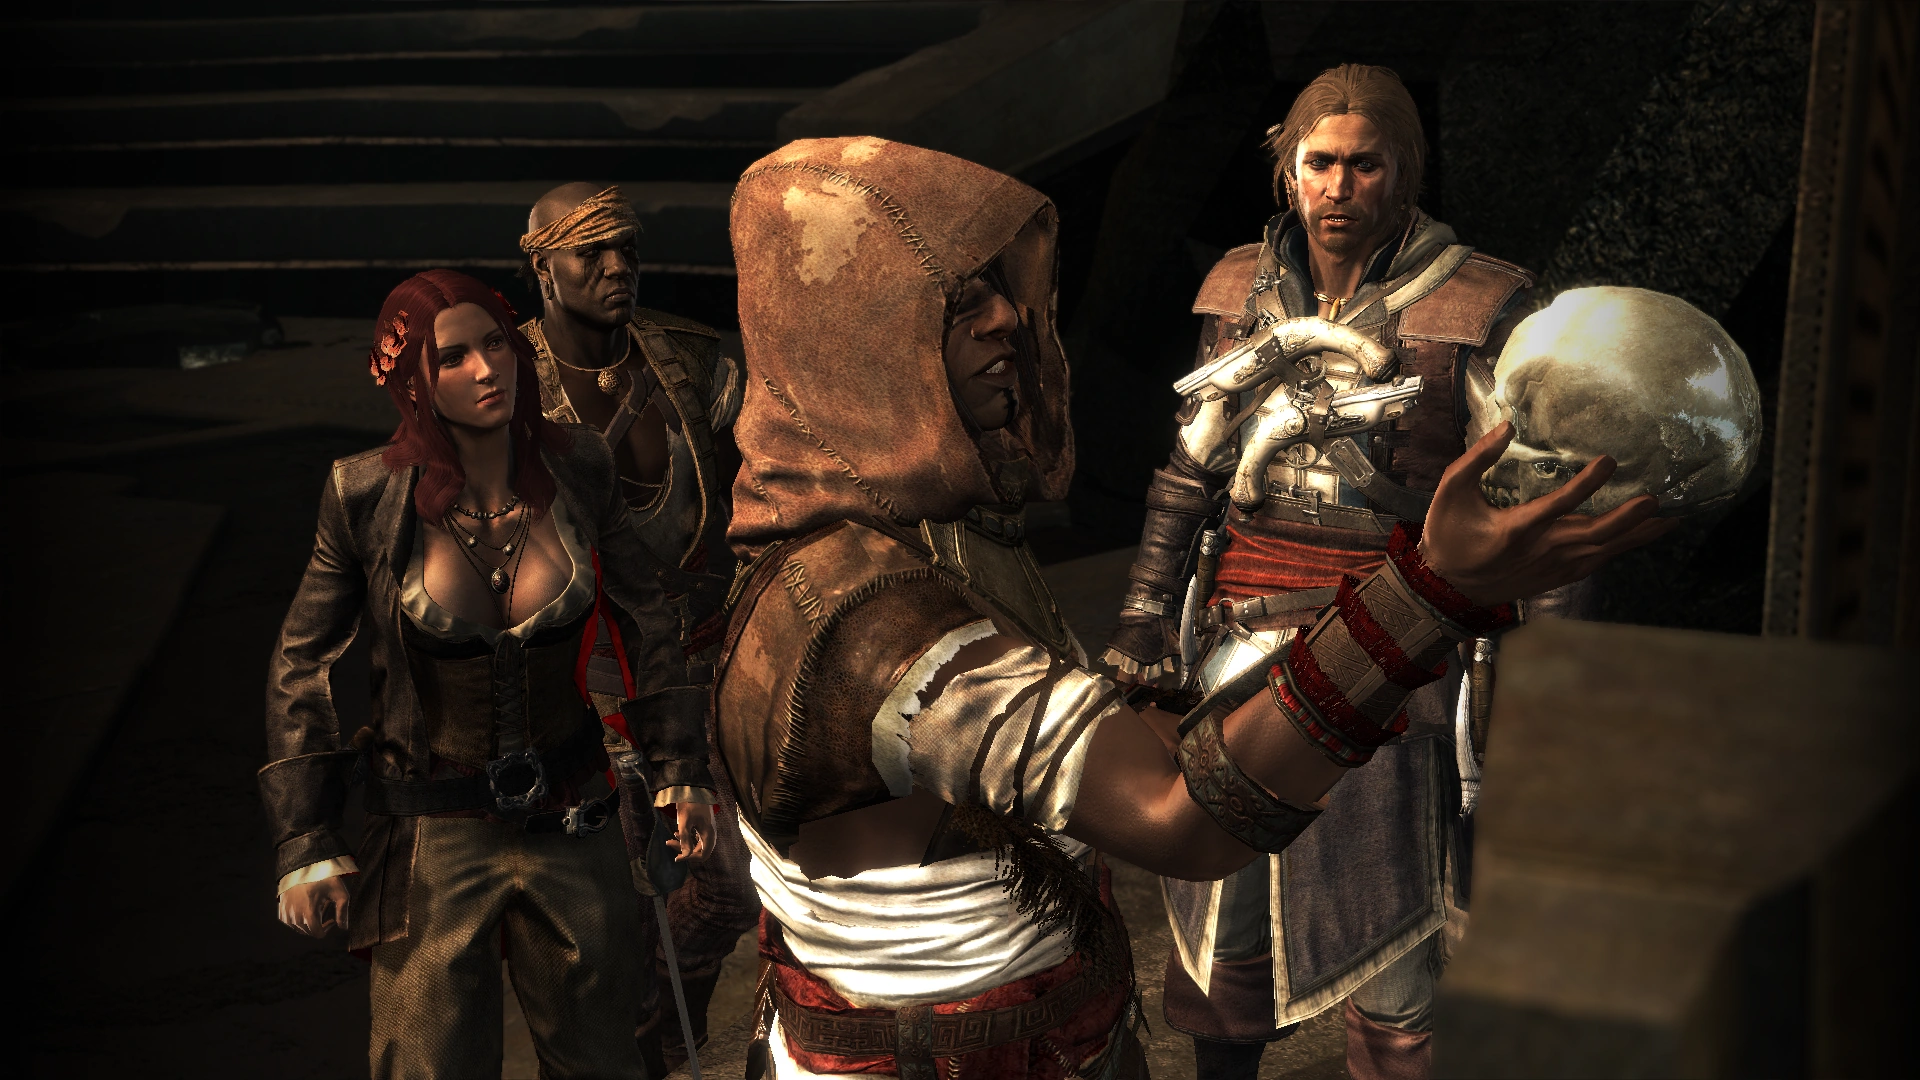
Roberts led Edward to an island heavily guarded by indigenous guardians whose presence made it impossible for the crew to reach the Observatory. Roberts directed Edward to clear a path, which he did successfully, leading them to a black geometric structure. Roberts identified the building as the Observatory and then promptly killed the crew, shocking Edward. Roberts asserted that those crew members would not be able to cope with seeing the Observatory while, by comparison, Kenway was made of "sterner stuff".[5]

Edward and Roberts watching a projection
Roberts explained the true nature of the Observatory – to project what the target was seeing in real-time, but requiring a sample of the target's blood kept in a blood vial to properly function. To explain, Roberts inserted a vial containing the blood of Jack Rackham, who was currently overhearing James Kidd's attempt to recruit Anne Bonny into the life of piracy. He then inserted the cube containing the blood of Woodes Rogers, who was discussing the Observatory with Torres.[5]
Edward quickly realized the true reason for the Templars' interest in the Observatory: with just the tiniest amount of blood from each member of the British, Spanish and French governments, the Templars would be able to spy on, blackmail and effectively rule these Imperial governments from behind a veil. However, Edward's interest still laid in financial gain, and he expressed excitement that he and Roberts could be "masters of the ocean" using the crystal skull. However, he was quickly struck by Roberts, who had no further use for him with the guardians neutralized. Roberts then left, sealing Edward within the facility.[5]
Edward eventually managed to locate a passage out of the complex but, in his escape, he was impaled on a sharpened branch and fell down a long slope. Reaching the beach, he stumbled toward Roberts, but was too badly wounded to defend himself against the man's crew. An amused Roberts then told him that the Jackdaw had fled, and he decided to take advantage of the large bounty on Kenway's head, turning him over to the British.[5]
Imprisonment
In 1721, after many months of imprisonment, Edward was made to witness the sentencing of Mary and Anne for the crimes of piracy, though the two managed to stave their execution by announcing that they were pregnant.[5]

Rogers and Torres interrogating Edward
Edward was approached by Torres and Rogers, who offered him his freedom in exchange for the location of the Observatory, though they warned him that they could only stay his eventual execution for so long. Edward refused and was then returned to a gibbet. Four months later, Edward was freed by Ah Tabai, who had traveled to Port Royal in order to free Mary and Anne. He offered to ensure Edward's safe passage from the prison should he aid in their rescue, an offer Edward readily accepted.[5]
Edward infiltrated the prison and, after a brief visit to both Jack Rackham's gibbeted body and a delirious Charles Vane in a prison cell, succeeded in finding Mary and Anne and assassinating the guards posted at their cells. However, Mary was gravely ill due to giving birth in the prison's unsanitary conditions; despite Edward's attempts to carry her to freedom, she could not make the escape. Asking Edward to make amends for his past and change the course of his future, she died within the prison walls, and Edward carried her body to the shore.[5]
Edward handed Mary over to Ah Tabai, who stated that, while he still had not earned them, the Assassin robes Edward had taken from Walpole many years before suited him. He then returned the outfit to Edward before departing with the pregnant Anne.[5]
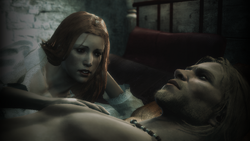
Edward fell into a deep state of despair, drinking heavily and hallucinating. In his hallucinations, Edward was beset by apparitions of Rogers, Roberts, Caroline and Mary, among others. The former two mocked him, and Caroline and Mary berated his lust for gold and personal glory over anything else. Eventually, he awoke near the Kingston docks, hungover. Standing over him was Adéwalé, who returned the Jackdaw to his care, resigned as his quartermaster and urged Edward to travel to Tulum.[5]
Life as an Assassin
Joining the Assassins

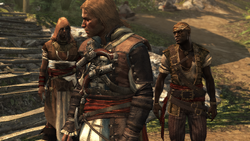
Edward reflecting on his life choices
When Edward arrived at Tulum, Adéwalé confirmed his resignation as his quartermaster, stating his distaste for working with a man so obsessed with his own gain. He stated he joined the Assassins to pursue a more worthy cause. Edward agreed, reflecting on the fact that despite his wealth, he had lost everyone he cared about in its pursuit. He then appealed to Ah Tabai to help him make amends for his past misdeeds, as per Mary's final request.[5]
After a brief conversation between the two about the Order, Tulum was once again beset by Spanish Templars. Despite Ah Tabai's reservations, he realized that Mary had seen something in Edward, and so chose to place his trust in the man. Handing the aspiring Assassin a set of rope darts, Ah Tabai and Edward worked together to clear the jungle of Spanish troops, before Edward snuck aboard their Galleon and assassinated the captain.[5]
With the attack repelled, Edward, Adéwalé and Ah Tabai discussed their next move: the removal of Rogers, Roberts, and Torres. In the interim, Edward sought out the company of Anne, with whom he found camaraderie in the wake of their friends' deaths. He eventually offered her the position of quartermaster in Adéwalé's absence, which she accepted.[5]
Three targets
Travelling to Kingston, Edward and Anne visited the Bureau leader Antó to inquire about Rogers' location. Antó suggested that Edward infiltrate a party Rogers was hosting in the guise of an Italian diplomat. Edward agreed and obtained the disguise he needed.[5]
Sufficiently disguised, Edward entered the party and, as Rogers passed, struck him with his Hidden Blade from a bench. Before he left, Edward pried from Rogers the location of Bartholomew Roberts: Príncipe.[5]

Edward attacking the Royal Fortune
Once more, Edward traveled to Africa in pursuit of Roberts, through the very same stronghold that had held his target captive years before. Roberts attempted to flee aboard the Royal Fortune, but the ship was soon disabled by the Jackdaw and boarded.[5]
On board, Roberts and Kenway fought one another, with Edward emerging victorious after impaling Roberts with a rope dart. Remorsefully, Roberts remarked that perhaps Edward was indeed the one she had sought, and that he wished he had only had time to open the door to the Temple. He then died, requesting his body be destroyed to prevent the Templars acquiring it, before Edward could gain any more answers. Edward respected his final request and threw his body into the ocean, while also taking possession of the crystal skull.[5]
With Roberts dead and the crystal skull that powered the Observatory in-hand, Edward made the return journey to Havana, in order to confront and assassinate Torres. He found the city in lockdown, as Torres had anticipated his arrival. With a drop of Torres' blood, Edward tracked the Grand Master through the city to a fort in the north. Edward infiltrated the fort and assassinated Torres, only to find the man he had slain was actually a double wearing Torres's clothes. He was then set upon by El Tiburón, Torres right-hand man and bodyguard, whose blood had resided in the vial under Torres' name.[5]
After a prolonged fight, Edward succeeded in killing El Tiburón and escaped the fort, having deduced that Torres was already on his way to the Observatory and oblivious to the fact that Edward held what he sought.[5]
Confrontation in the Observatory
Returning to the Observatory once more, the Jackdaw fought its way past the Grand Master's escort and its captain went ashore.[5]
Edward, accompanied by Anne, again made his way through the jungle, eliminating the Grand Master's soldiers and freeing those Guardians that had been captured, before entering the Observatory. Inside, he was set upon by the Templars, but made full use of the complex's defenses, which had activated in responses to the Crystal Skull's removal, to dispose of them. Freerunning his way through the facility's ever-changing and disjointed architecture, Edward managed to reach Torres, and struck him down.[5]

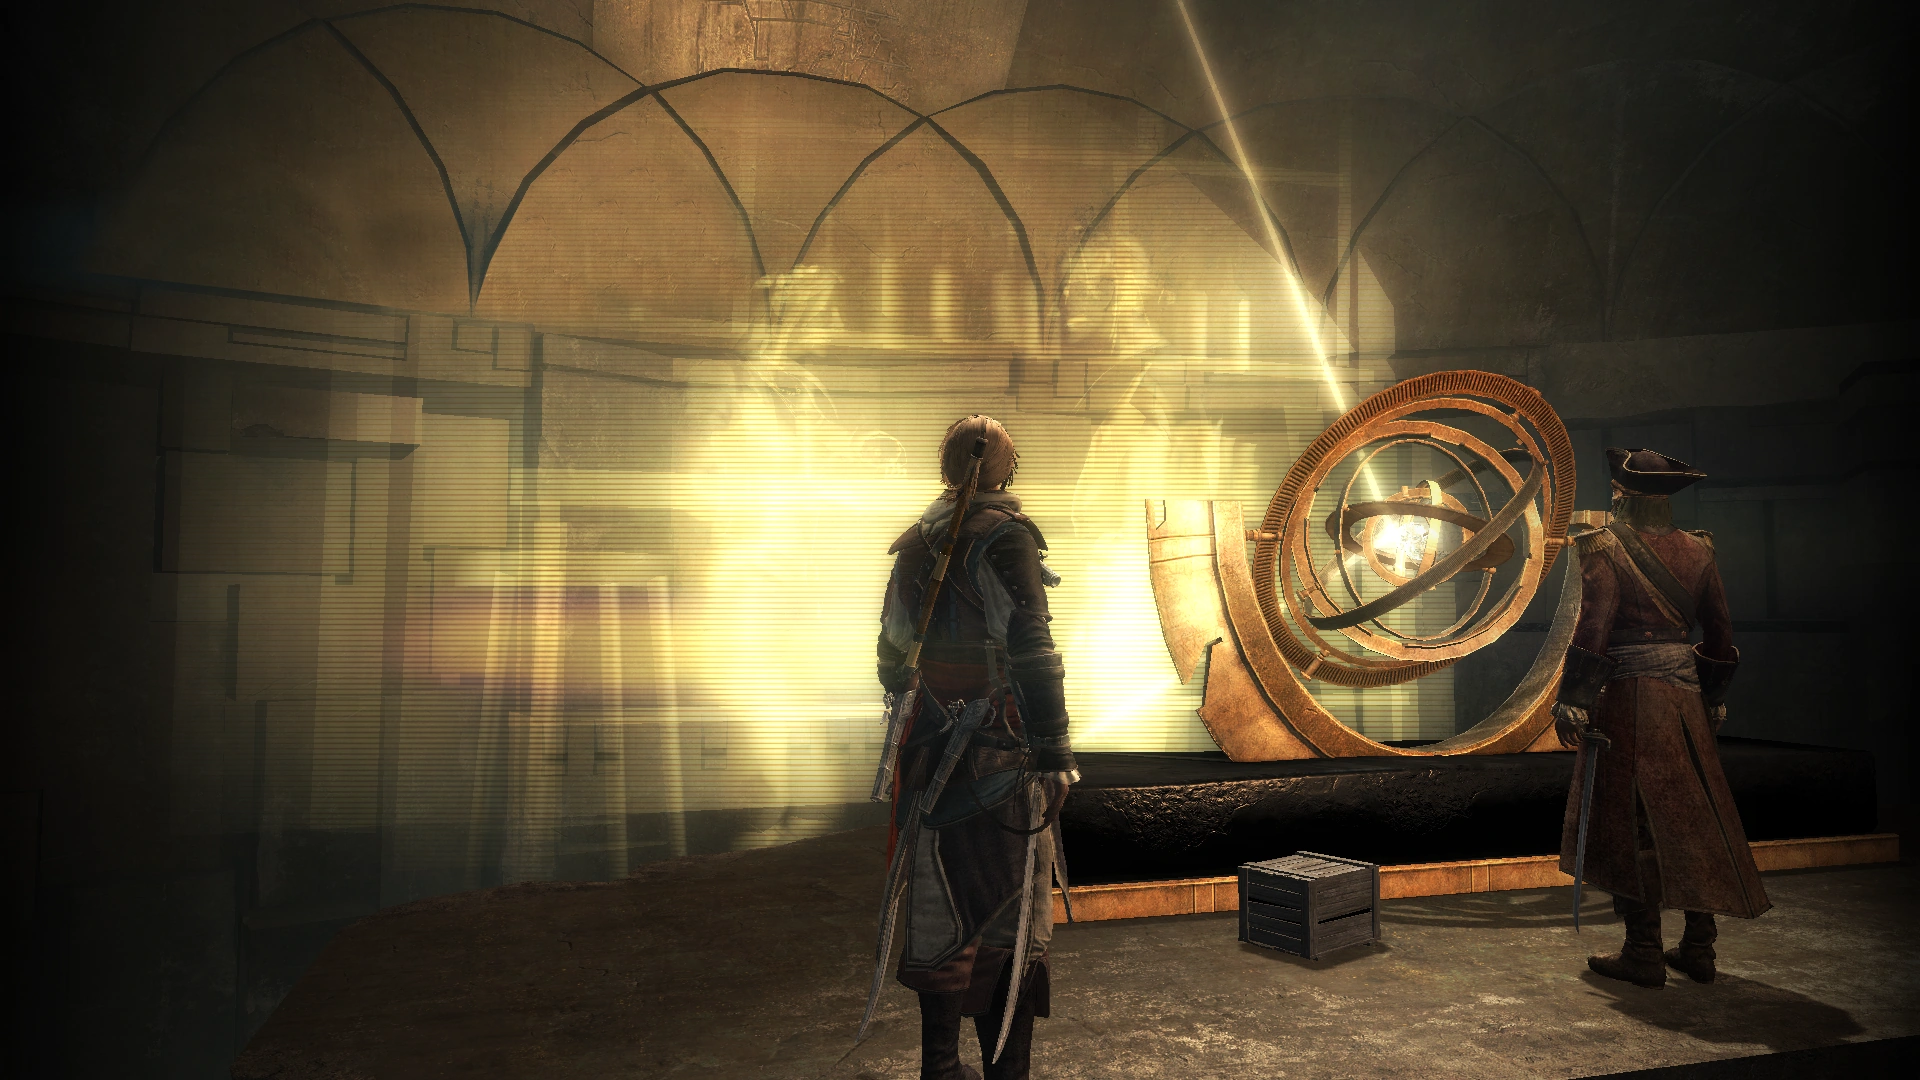
Ah Tabai placing the skull in the sphere
As he lay dying, Torres reminded Edward that he ended up a man with nothing. Edward retorted that killing Torres righted his own wrongs and criticized the Templars' goal of controlling humanity. With his last breath, Torres expressed his respect for Edward's convictions. With the Templar Grand Master dead and the Observatory returned to normal, Edward returned to the central device to find Ah Tabai, Adéwalé and Anne waiting for him. Together they returned the Crystal Skull to its rightful place and vowed to seal the Observatory once more.[5]
Ah Tabai then suggested Edward aid in the search for the missing blood vials, which had been removed since Edward's last visit. Edward agreed, but stated that he would return home to mend his relationship with Caroline first. Remorsefully, Ah Tabai handed Edward a letter which had arrived from England a week past. The letter stated that Caroline had died two years prior from smallpox and her father's negligence, and revealed that Edward had a daughter, Jennifer Scott.[5]
The last pirate
- Jennifer: "Hmm, and what about pirates? Will I see any pirates?"
- Edward: "No, there's not much chance of that, I think."
- Jennifer: "Oh, that's rather sad. I should like to have seen one."
- —Edward and his daughter, on the journey home, 1722.[src]
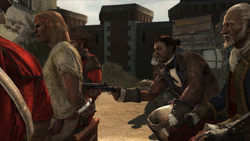
Edward threatened by Low
In September 1722, before Edward left for England, the pirate and Adéwalé sailed one last time together in order to recover the gold of a sunken Spanish vessel, the Polvora. However, while Edward was underwater in the diving bell, looking for the treasure, the Jackdaw and the crew were captured by the infamous Edward Low. Threatening the lives of his crew, the cruel captain forced Kenway to lift the rest of the treasure back to the surface. Unfortunately for him, Edward trapped the bell which he had filled with barrels of gold but also with barrels of gunpowder found in the wreck. When Low and his men brought the diving bell back onto the ship, it exploded throwing the gold pieces like shrapnel at the assailants.[15]
Using the distraction, Edward snuck on board the Jackdaw and released his men. Together they pushed the other pirates back to their own ship and an enraged Low prepared to fire with his cannons on the defenseless Jackdaw. However, Kenway had also placed several barrels of the Polvora on the deck of Low's ship, which he shot with a rifle, causing considerable damage and neutralizing his rival.[15]

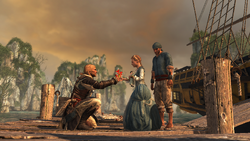
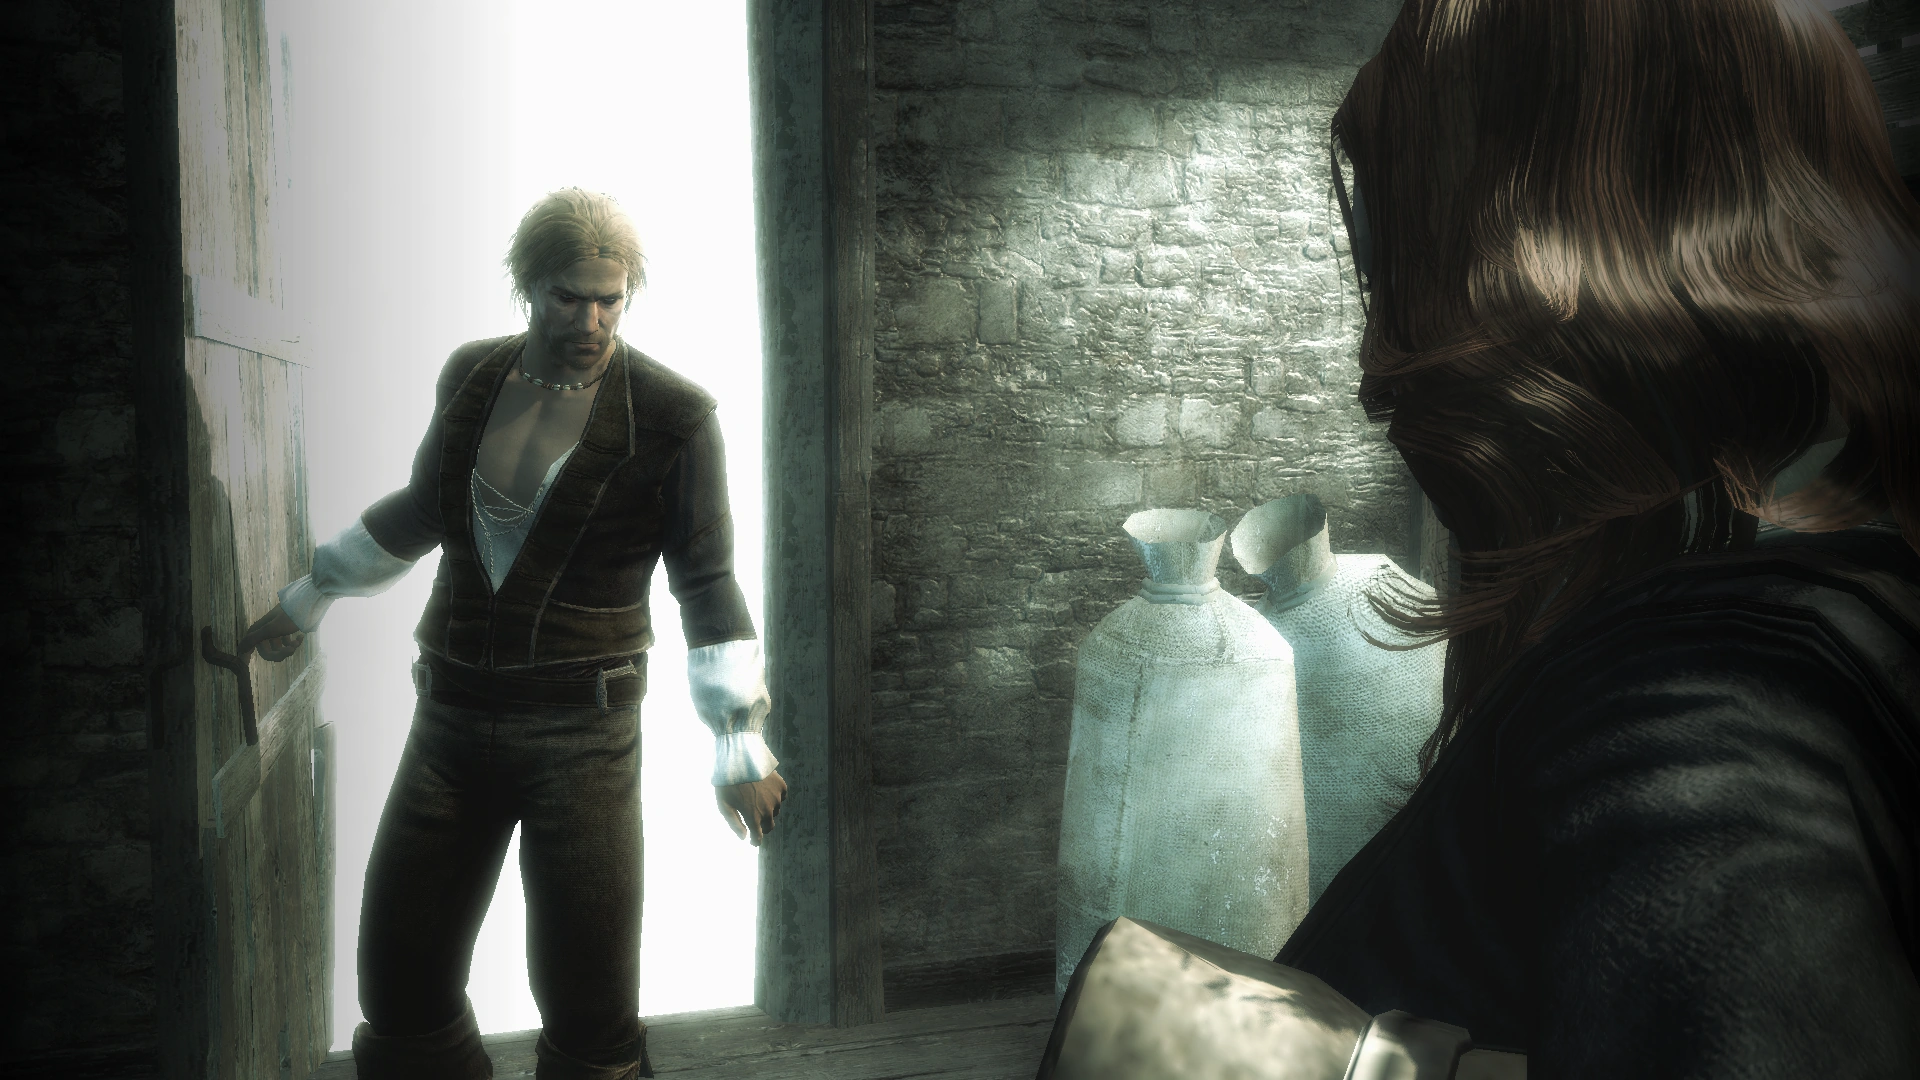
Edward meeting Jennifer for the first time
By October, Edward eventually arranged for Jennifer to be brought from England to Great Inagua, and gifted the island to the Assassins for use as a base, an offer gladly accepted by Ah Tabai. Adéwalé revealed that, despite his wounds, Rogers had survived and returned to England, broke but no less of a threat. Edward vowed to deal with him once he had time. Edward invited Anne to return to London with him, but she refused the offer, also claiming she didn't possess the conviction to remain with the Assassins. However, Anne did tell Edward that she considered him a good man and felt he could prove himself a good father in time as well.[5]
Shortly thereafter, a brig carrying the young Jennifer arrived in port, and Edward went to meet her.[5]
Return to England
Edward went back to his hometown, where his mother disowned him out of disappointment of his intention to track down and kill those who were responsible for the attack on their home years ago. Afterwards, he met Rose and settled old scores with his callous father-in-law and the Templars who burned down his family's farm.[4]
Scott and Wilson kidnapped Rose and used her as a hostage against Edward. Edward and Scott had an angry exchange over the latter's responsibility for Caroline's passing before Edward killed him with a pistol to the head. Edward afterwards fatally wounded Wilson with a throwing knife.[4]
Edward then turned his attention to Matthew Hague, Caroline's intended fiancé. Before he could finish Hague off, he was confronted by Matthew's father, Aubrey, and Robert Walpole. Walpole dissuaded Edward from killing Matthew and offered him a pardon from his former life as a pirate. Walpole insisted that it was out of gratitude for killing his cousin Duncan, who had brought dishonor on the Walpole family. Walpole also dissuaded Edward from tracking down Woodes Rogers, who was currently locked up in a debtor's prison and had been expelled from the Templar Order for his continuing practice of slavery.[4]
Leading the London Assassins
Upon receiving a pardon from Lord Walpole, he moved to London and joined the British Brotherhood, eventually gaining the rank of Master Assassin. While in London, he met Tessa Stephenson-Oakley, the daughter of the wealthy landowner from whom he rented his house. Using her family connections, Tessa assisted Edward in purchasing a manor on Queen Anne's Square, London, and by 1725, the two married and had a son, Haytham.[2]
After joining the British Brotherhood, Edward quickly rose to become co-leader alongside Miko. Edward brought great stability to the Brotherhood, using his charm to make connections across London in both high society and the criminal underworld, and together with Miko, was able to keep the Templars at bay and further the Assassin cause in the country.[16]
Edward used his commercial enterprise as cover to travel the globe in search of First Civilization sites like the Observatory. He discovered Temples in Italy, as well as one one underneath Alamut. Edward also attempted to discover the location of the Grand Temple, and wrote down clues regarding its location in his personal journal.[17]
One discovery Edward made, he kept a closely guarded secret; on one of his extensive travels Edward came across a Shroud of Eden, a powerful artifact that had the ability to heal even fatal injury. Edward elected to keep this discovery hidden from the world, and to do this he locked the Shroud in a box made by the First Civilization that could only be opened through the use of a key made with the same design.
To ensure that the Shroud remained hidden, he secreted the casket within the Tower of London where he believed it would be secure, alongside the British Crown jewels, and he placed the key within a secret room atop the dome of St Paul's Cathedral.[16]
Edward trained Haytham to become an Assassin from an early age, training him in swordsmanship and other types of combat from six years old onward. Edward also encouraged his son to think for himself, and dispute others' opinions. However, Edward kept his past a secret from his young son, though his former career as a pirate forever distanced the family from their neighbours in London.[2]
Later life

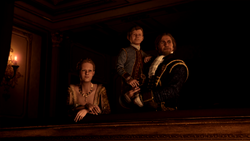
Jennifer, young Haytham and Edward in Theatre Royal
On 4 December 1733, Edward, Haytham and Jennifer attended a performance of The Beggar's Opera at the Theatre Royal, where they were joined by Edward's aspiring property manager, Reginald Birch.[5][18] Following the show, the four met with Tessa at White's Chocolate House on Chesterfield Street, to celebrate Haytham's eighth birthday.[2]
Upon the return home, the group were accosted by a mugger. When the mugger attempted to steal Tessa's necklace, he was swiftly repulsed by Edward, before being pounced upon by Birch. Edward adamantly refused to allow Birch to kill the mugger, and was infuriated at the man's harsh vigilantism. When the family returned home that night, Edward asked his son whether he thought that the thief should have been allowed to go free. Haytham replied that he had initially wanted to exact revenge, but would have offered the man clemency; Edward then presented Haytham with a steel short sword.[2]
Over the next two years, Birch became a regular visitor of Kenway Manor while courting Jennifer. She eventually discovered he was a Templar, and after informing her father, the two men engaged in a loud argument, ending with Birch storming out of the office. Regardless, he had what he was looking for: young Haytham had unintentionally revealed the location of Edward's journal when he told Birch about his sword in a secret compartment in the games room.[2]
Death
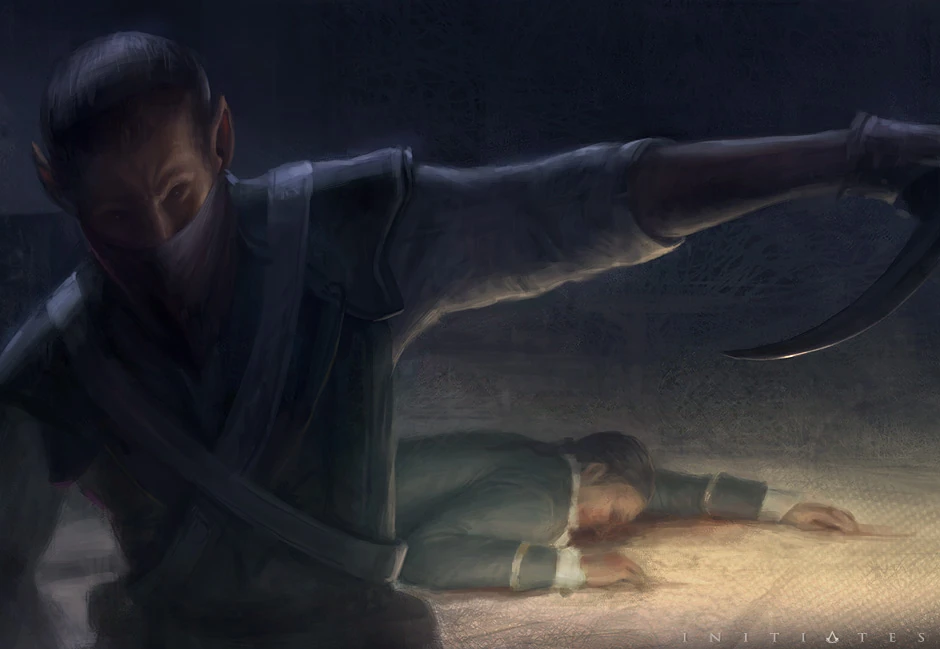

Edward killed by mercenaries
On 3 December 1735, the Kenway household was infiltrated by masked men who kidnapped Jennifer and killed several of the servants. After making sure that his wife and son were safe, Edward raced to the games room and was confronted by two of the intruders. After a prolonged fight, one of the men managed to impale Edward through the chest with his sword, killing him instantly.[2]
Legacy
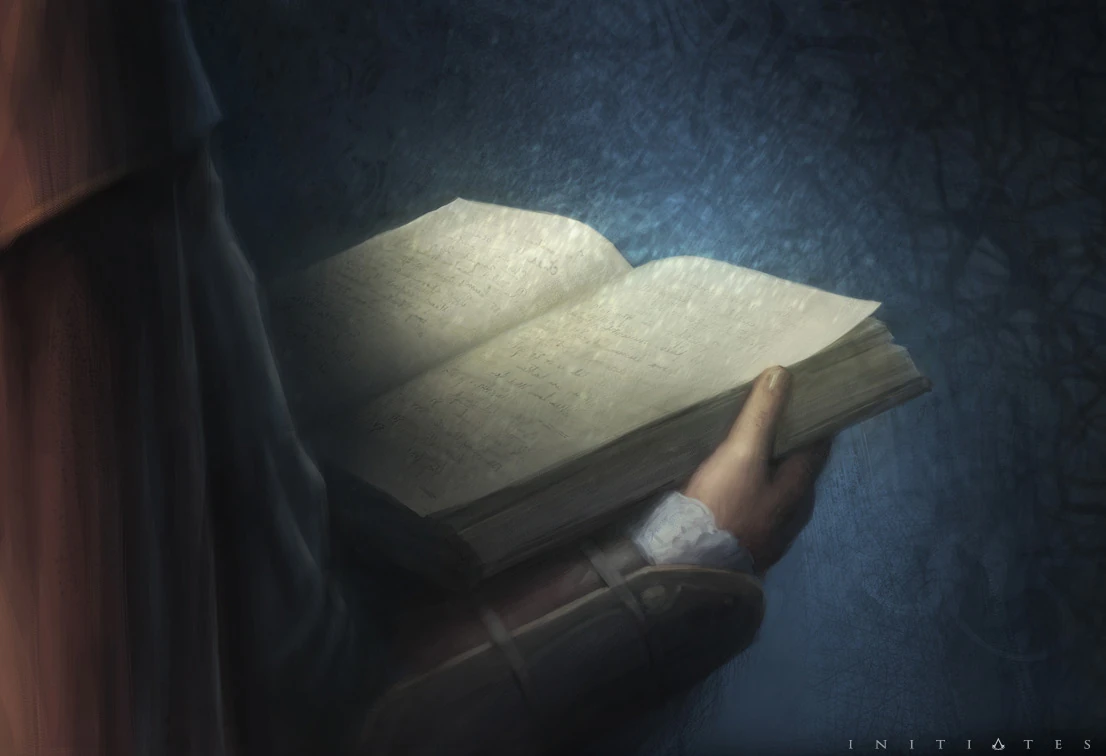

Haytham reading his father's journal
Edward's actions in the Caribbean had lasting consequences for the local Assassins; they found the Observatory and expanded their influence at the expense of the Templars,[5] effectively forcing them out of the area for decades to come.[19]
Even during his own lifetime, Edward's past life as a pirate led to the Kenway family being ostracized by certain aspects of London society. Edward kept his past a secret from his son, Haytham–which led to some confusion on young Kenway's part when questioned about his father's past–though he did reveal the truth to his daughter, Jennifer.[2]
The loss of Edward, and later Miko, was a crippling blow for the British Assassins. Their deaths began a severe, century long decline of the Brotherhood in London that all but wiped out their presence in the capital. The situation would not be reversed until the twins Jacob and Evie Frye arrived to help Henry Green wrest control of the city from Templar hands in 1868. During that time, Evie would use Edward's research of precursor artifacts as part her pursuit of a Shroud of Eden.[16]
Moreover, Edward's journal, detailing his researches into the Temples of the First Civilization, allowed his son to find the Grand Temple Key and the site of the Grand Temple,[2] which in turn enabled their descendant, Desmond Miles, to retrieve the key in 2012 and stop the impending solar flare.[18] While reliving the memories of Haytham's son Connor, Desmond mentioned to Rebecca Crane in a December 20 conversation that he had also began experiencing Bleeding Effect visions of Edward, though he was unaware of who it was at the time. Rebecca suggested that the team could look into it in the future,[20] but never had the chance before Desmond's demise the next day.[21]
Around 2015, Edward Kenway's name was compiled as part of the Helix Directory's list of known British Assassins.[16]
Edward's flintlock pistols were retrieved by Abstergo Industries and displayed in their Madrid facility in 2016.[22]
By 2017, Edward's memories were relived by Juhani Otso Berg at Abstergo Montreal in order to graft the assassin's skills and knowledge onto himself while being the Black Cross.[15]
Personality and characteristics
- "For Christ's sake, Edward. Don't anything but the stink of riches wrinkle your nose?"
- ―Mary Read, 1718.[src]

A drunken Edward with Caroline
During his formative years, Edward was a brave, albeit reckless individual who was infatuated with the idea of fame and glory. Such was his obsession that he left his first wife to become a privateer in the British Navy, hoping to score his fortune in the Caribbean and prove his worth. After the Treaty of Utrecht effectively made privateers redundant, many turned to a life of piracy, Edward among them.[5]
As the captain of the Jackdaw he quickly became feared and respected for his skill at the helm of a ship and his combat prowess, with even the renowned Edward Thatch commenting on his ability. It was the promise of wealth, power and infamy that spurred Edward into seeking out the Observatory, at the expense of both the Templars and Assassins. Although the Assassin Mary Read knew him to be good at heart and capable of change, the Assassins en-large remained suspicious of him and strongly disagreed with his lifestyle.[5]
Despite the vested interest of both the Assassins and the Templars in the veteran pirate, Edward remained steadfastly focused on his own goals: power, infamy and proof that he was better than he was born to be. Edward was also one to take any advantage afforded him, twisting the meaning of the Assassins' Creed to suit his own ends. Only after losing his friends and compatriots to greed and glory-seeking did he recant his previous behavior, and come to realize what the Creed truly promised: the power to make himself better than he was.[5]
Upon discovering her existence, Edward immediately begun working to develop a relationship with his daughter, in order to make up for her parents' estrangement. He was also accepting of her decision to honor her mother by carrying her maiden name. Later, he encouraged his son to think for himself instead of believing everything his home-school teachers said. He also expressed pride toward his son when Haytham said that he would have offered a mugger clemency, instead of acting on the impulse to kill him. Edward could be quite conservative in other respects, such as his decision to marry off his daughter to Birch, as was the tradition of the day.[2]
In terms of clothing, Edward originally wore an orange crewman outfit during his time as a privateer, years later he took the robes of the fallen Duncan Walpole; whilst on-board a Spanish ship he heavily modified his outfit with leather padding and metal bracers, along with white trousers, black boots as well as a fastened red sash across his waist.[5]
Upon returning to London, Edward donated his old robes which eventually came into possession of Achilles Davenport, Mentor of the Colonial Assassins, which the Mentor modified and passed on to Edward's grandson Ratonhnhaké:ton. During his later years Edward opted to wear a dark blue noble coat with gold linings.[18]
Equipment and skills

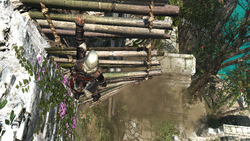
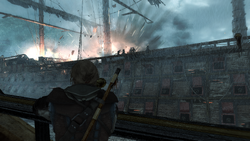
Edward holding onto a collapsed bridge
From an early age, Edward possessed the extra-sensory ability known as Eagle Vision, which he eventually managed to hone and utilize during his adult life. During his youth, Edward became skilled with throwing knives, with which he practiced in his free time.[5]
Edward proved to be a capable hand-to-hand combatant having been experienced in several brawls in local taverns where he could take down multiple opponents, as well as utilize the environment to his advantage.
Over time Edward accrued skill in captaincy, as he was able to pilot various ships with relative ease across the Caribbean, fending off rogue waves and storms.[5]
Edward was trained in swordsmanship and was taught how to wield firearms. His skill with a sword was initially average, but drastically improved after receiving tutelage in swordsmanship by Edward Thatch and Benjamin Hornigold, to the point where he was able to dual-wield swords and became a master swordsman. Additionally Edward was able to wield several different weapons including swords, pistols, knives, axes and muskets; he proved able to dual wield several combinations of these weapons with great proficiency.
During his time as a privateer, Edward repeatedly climbed the vast rigging and masts aboard various ships; through this he became a capable freerunner, able to transverse through cityscapes as well as climb natural elements – including trees – just as easily, providing him with an agility and dexterity that rivalled that of a Master Assassin.
Despite not being originally trained in the Assassin methods, Edward possessed his own skill set that rivaled that of the Assassins, demonstrating some expertise in stealth, eavesdropping and pickpocketing. Additionally, despite only being recently introduced to the Hidden Blade, he proved capable in its usage and, after being instructed by Rogers and du Casse, was capable of performing various assassination techniques.[5]
In terms of equipment Edward primarily carried two cutlasses and four flintlock pistols on his person, in order to compensate for the long reload times of the firearms. During his time in the West Indies that was spent dealing with the Assassins and Templars, Edward acquired various pieces of equipment, including a pair of Hidden Blades, a blowpipe, smoke bombs and rope darts.

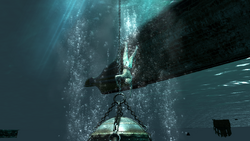
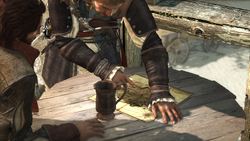
Edward using a diving bell
However, one of Edward's most invaluable pieces of equipment was his ship: the Jackdaw. She was equipped with a harpooning boat for the spearing of marine life, and a diving bell that Edward used to submerge himself to locate treasure beneath the waves.
During these maritime explorations, Edward proved to be a strong swimmer and was able to hold his breath for a relatively long period of time. Additionally, he proved to be a capable hunter as he was able to fend off hostile creatures both on land and sea, most notably sharks in his underwater skirmishes.[5]
In London, after retiring from privateering, Edward retained his Hidden Blades and sword. He also utilized a canesword, unleashing it only in times of need, such as fending off criminals. Additionally, Edward learned how to wield a bow and arrow, to which he then tutored his son Haytham in its use.[2]
Trivia
- The name Edward can be translated as "rich guard", as it is derived from the Old English elements ead "rich, blessed" and weard "guard".
- The middle name James comes from an Hebrew name, Yaʻaqov. It means "supplanter," one who follows.
- The surname Kenway comes from an Old English name, either Cynewig or Cenwig, composed of the words cyne ("royal") or cen ("keen, bold") and wig ("war").
- Edward was the first member of the Kenway family to join the Templars, albeit unwittingly, while posing as Duncan Walpole. He was officially inducted into the Order by Laureano de Torres in 1715, though his tenure was brief and rarely recognised thereafter.
- Ratonhnhaké:ton, Edward's grandson, remarked that he seemed to have inherited his taste for maritime adventures from him.[23]
- Edward's outfit is notable in that it departs from the usual style of having a beaked hood that previous Assassins have displayed.
- In Assassin's Creed: Forsaken, Edward is described as having dark hair, though he has been shown to have blonde hair in Assassin's Creed IV: Black Flag.
- In Forsaken, it is noted Edward was not wearing a shirt during the attack on his home, but the Initiates illustration of his death depicts him wearing a coat.
- Edward, along with Haytham and Jennifer, were mentioned in Assassin's Creed: Syndicate when Evie Frye and Henry Green decided to infiltrate the Kenway Mansion, which became a Templar stronghold, in order to find Edward's own research on the Shroud of Eden. Edward was first referred to by Evie as the Pirate before Green added Master Assassin as his title.
- Voice actor/motion capture provider Matt Ryan initially chose to portray Edward with a Mancunian accent during casting call. However, after the developers heard Ryan's natural Welsh accent they asked him to voice Kenway instead with a South-Welsh English accent. They then chose to rewrite Kenway's backstory to fit Ryan's accent.[24]
- In Assassin's Creed: Black Flag, Edward considered adopting parts of his Duncan Walpole persona into his everyday demeanor. However, no such thing is ever alluded to in the game.
- In Assassin's Creed: Rogue, Edward is never mentioned by name in the story except in Adéwalé and Haytham's database and also in Juhani Otso Berg's Inspiration file of Haytham. Edward in the story is only referred to as Haytham's father by the characters of the game.
- Edward is unique among Assassin's Creed protagonists as, not only was he mentioned in a prior installment, he also had an appearance in a novel before he appeared in his own game. In addition to this, he is also unusual in the sense that his death was described prior to his video game appearance as well.
- During development of Assassin's Creed: Origins, until Bayek had his own character model, Edward was used as a placeholder.[25]
Appearances
- Assassin's Creed III (mentioned only)
- The Tyranny of King Washington: The Redemption (mentioned only)
- Assassin's Creed: Forsaken (first appearance)
- Assassin's Creed IV: Black Flag
- Assassin's Creed: Black Flag
- Assassin's Creed IV Black Flag: Blackbeard – The Lost Journal
- Assassin's Creed: Identity (mentioned in Database entry only)
- Assassin's Creed: Rogue (indirectly mentioned only)
- Assassin's Creed: Memories
- Assassin's Creed: Syndicate (mentioned only)
- Assassin's Creed: Reflections
- Assassin's Creed: The Official Collection
- Assassin's Creed: Odyssey (appears in vision)
- Assassin's Creed: Rebellion – Dead Men's Gold
- Assassin's Creed: Valhalla (mentioned only)
- Untitled Assassin's Creed IV: Black Flag sequel
- Non-canon appearances
References

- ↑ 1.0 1.1 1.2 Assassin's Creed IV: Black Flag – Database: Edward Kenway (Black Flag)
- ↑ 2.00 2.01 2.02 2.03 2.04 2.05 2.06 2.07 2.08 2.09 2.10 Assassin's Creed: Forsaken
- ↑ Assassin's Creed: Odyssey – A Fresh Start
- ↑ 4.00 4.01 4.02 4.03 4.04 4.05 4.06 4.07 4.08 4.09 4.10 4.11 4.12 4.13 4.14 4.15 4.16 4.17 4.18 Assassin's Creed: Black Flag
- ↑ 5.00 5.01 5.02 5.03 5.04 5.05 5.06 5.07 5.08 5.09 5.10 5.11 5.12 5.13 5.14 5.15 5.16 5.17 5.18 5.19 5.20 5.21 5.22 5.23 5.24 5.25 5.26 5.27 5.28 5.29 5.30 5.31 5.32 5.33 5.34 5.35 5.36 5.37 5.38 5.39 5.40 5.41 5.42 5.43 5.44 5.45 5.46 5.47 5.48 5.49 5.50 5.51 5.52 5.53 5.54 5.55 5.56 5.57 5.58 5.59 5.60 5.61 5.62 5.63 5.64 5.65 5.66 Assassin's Creed IV: Black Flag
- ↑ 6.0 6.1 6.2 6.3 Assassin's Creed IV: Black Flag – Edward Kenway
- ↑ Assassin's Creed IV: Black Flag – Lively Havana
- ↑ Assassin's Creed IV: Black Flag – ...And My Sugar?
- ↑ 9.0 9.1 Assassin's Creed IV: Black Flag – Mister Walpole, I Presume?
- ↑ Assassin's Creed IV: Black Flag – A Man They Call the Sage
- ↑ Assassin's Creed IV: Black Flag – Claiming What's Due
- ↑ Assassin's Creed IV: Black Flag – The Treasure Fleet
- ↑ Assassin's Creed IV: Black Flag – This Tyro Captain
- ↑ Assassin's Creed IV: Black Flag – Now Hiring
- ↑ 15.0 15.1 15.2 Assassin's Creed: Reflections – Issue #03
- ↑ 16.0 16.1 16.2 16.3 Assassin's Creed: Syndicate
- ↑ Assassin's Creed: Rogue
- ↑ 18.0 18.1 18.2 Assassin's Creed III
- ↑ Assassin's Creed: Rogue - War Letters: "The Manila Galleons"
- ↑ Assassin's Creed: Valhalla – Layla Hassan's personal files: "Audio: Desmond_02.WAV"
- ↑ Assassin's Creed III – Modern day
- ↑ Assassin's Creed film
- ↑ Assassin's Creed III – The Tyranny of King Washington: The Redemption – Dark Waters
- ↑ Hartup, Andy (29-10-2013). Creating Edward Kenway in Assassin's Creed IV: Black Flag. GamesRadar+. Archived from the original on 6 November 2013. Retrieved on 5 August 2013.
- ↑
 Jean Guesdon (@JeanGuesdon) on Twitter "My wallpaper at work, a very very early concept, Edward in Egypt (Bayek was not born yet). Already 3.5 years old but still so inspiring! 😀" (backup link) (screenshot)

| ||||||||||||||||||||||||||||||||||||||||
| |||||||||||||||||||||||||
| |||||||||||||||||||||||||